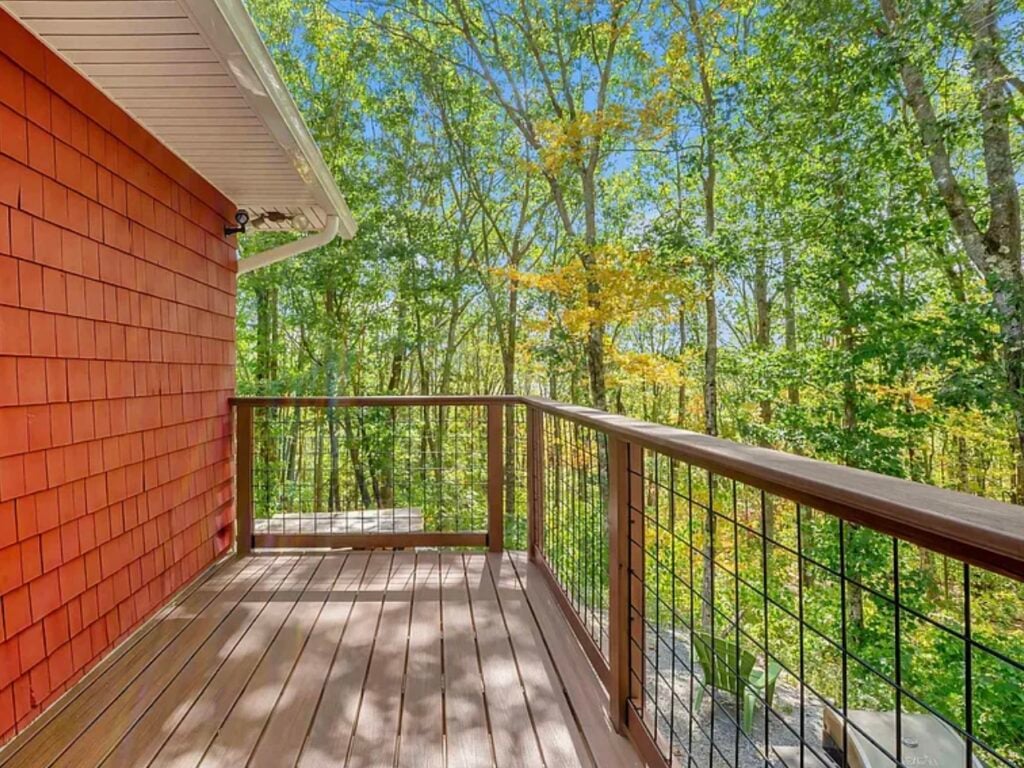
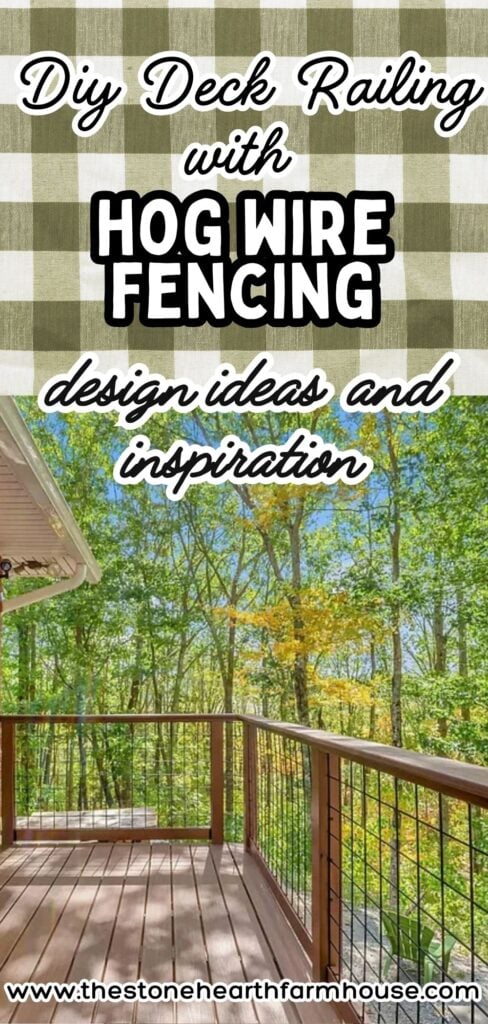
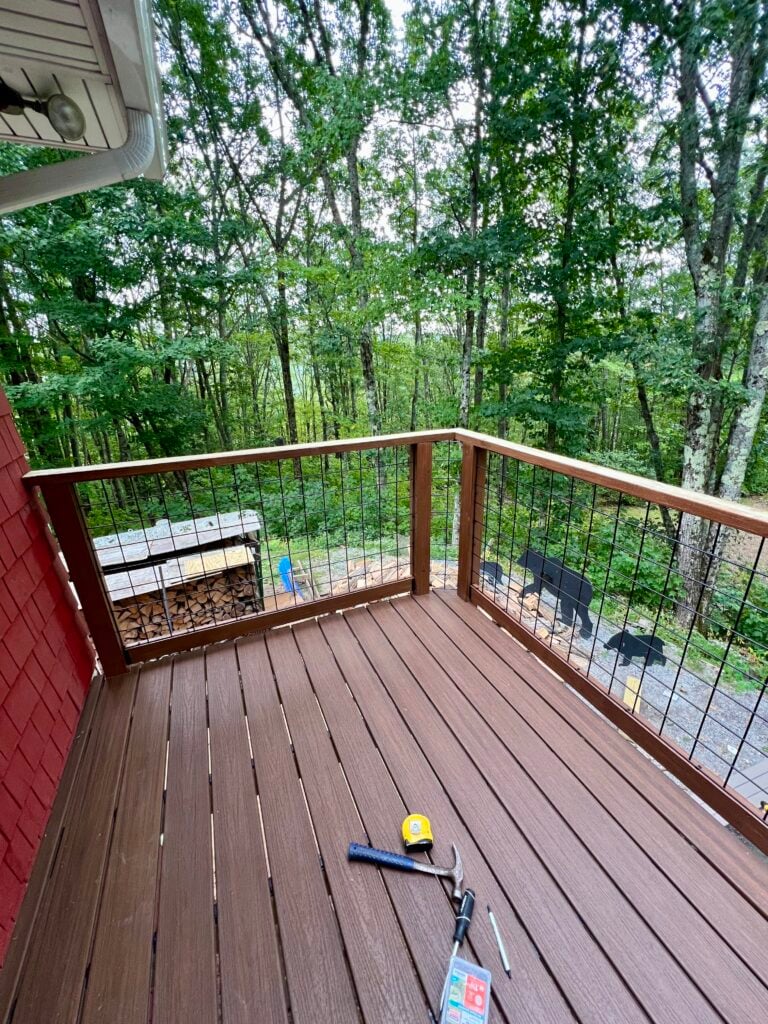
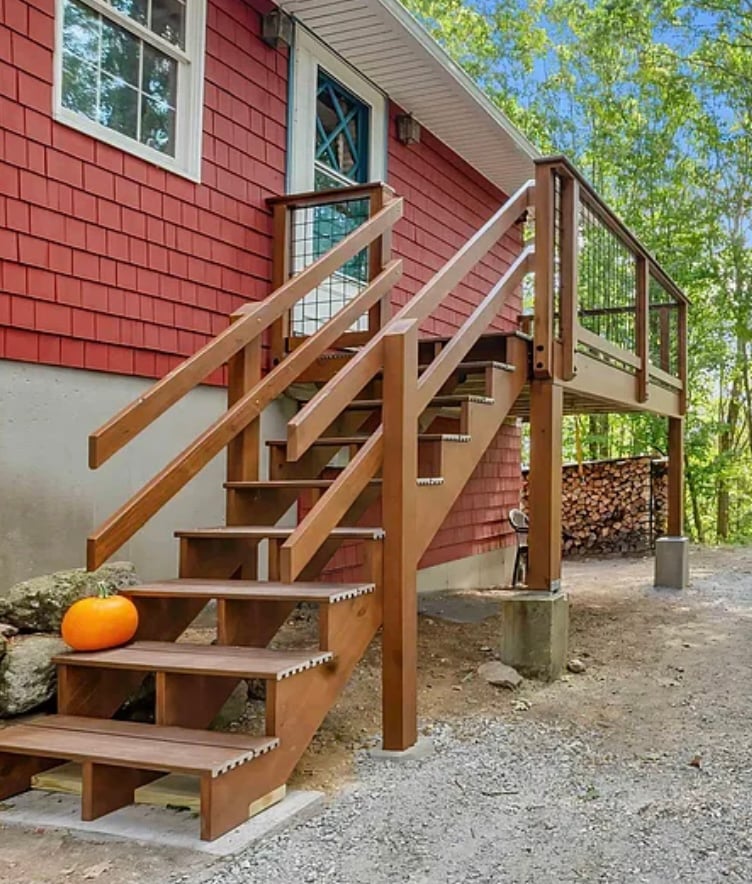
Beautiful DIY Trex Decking + Cattle Panel/Hog Wire Railing
Ecclesiastes 9:10 - Whatsoever thy hand findeth to do, do it with thy might; for there is no work, nor device, nor knowledge, nor wisdom, in the grave, whither thou goest.
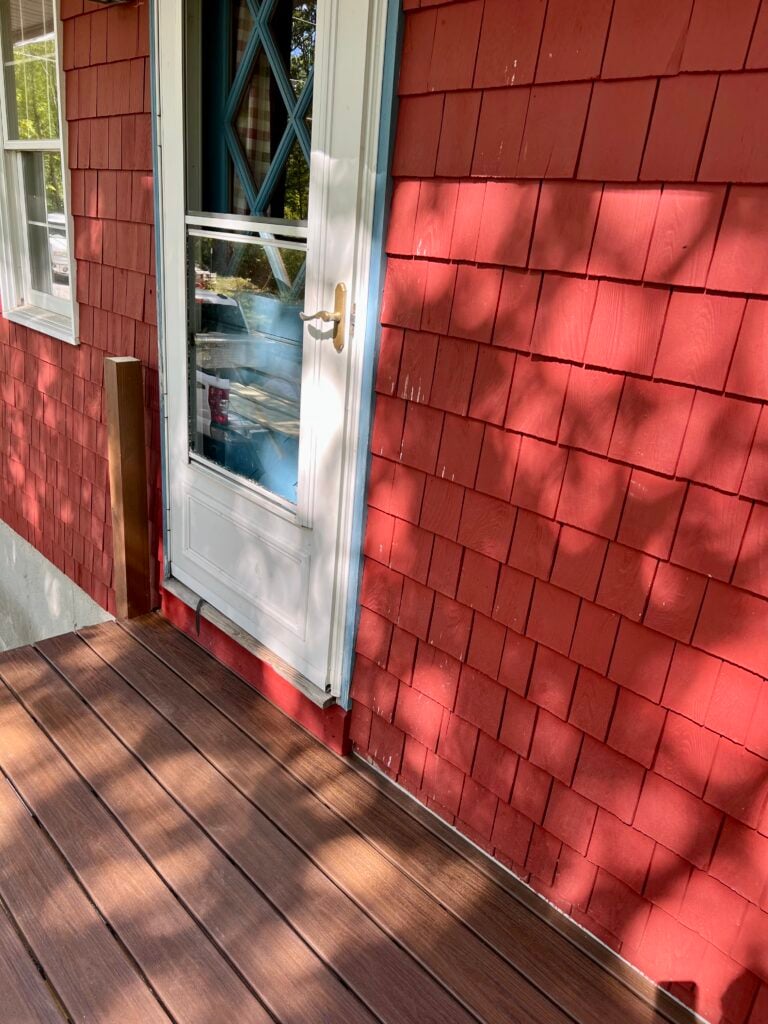
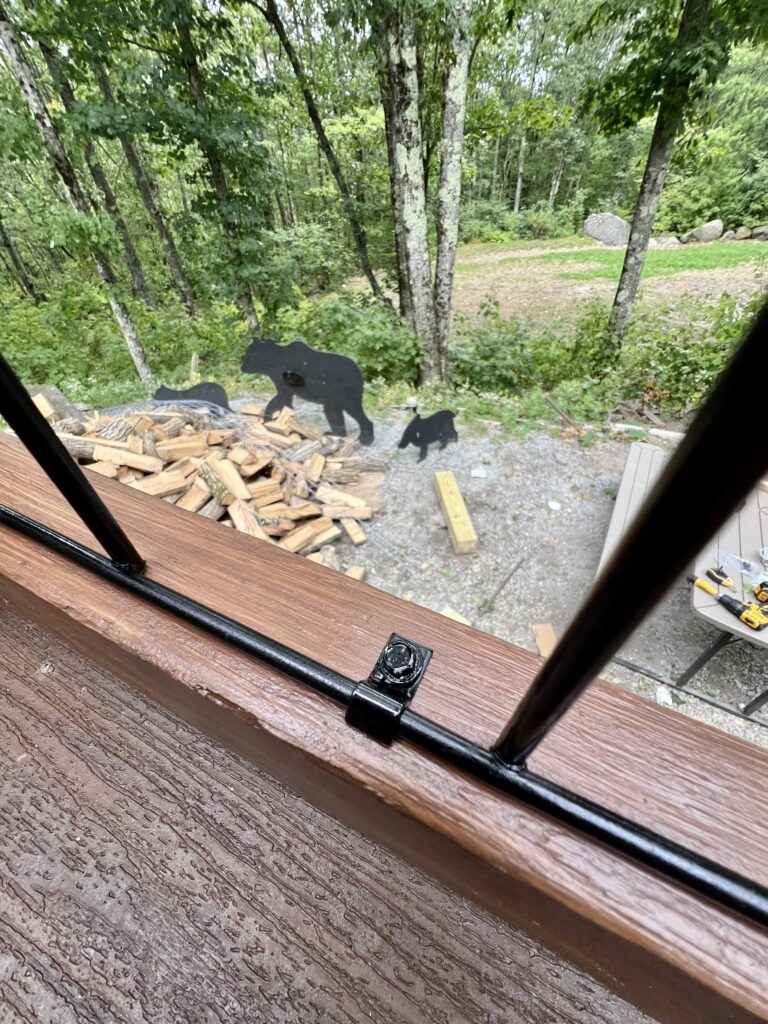
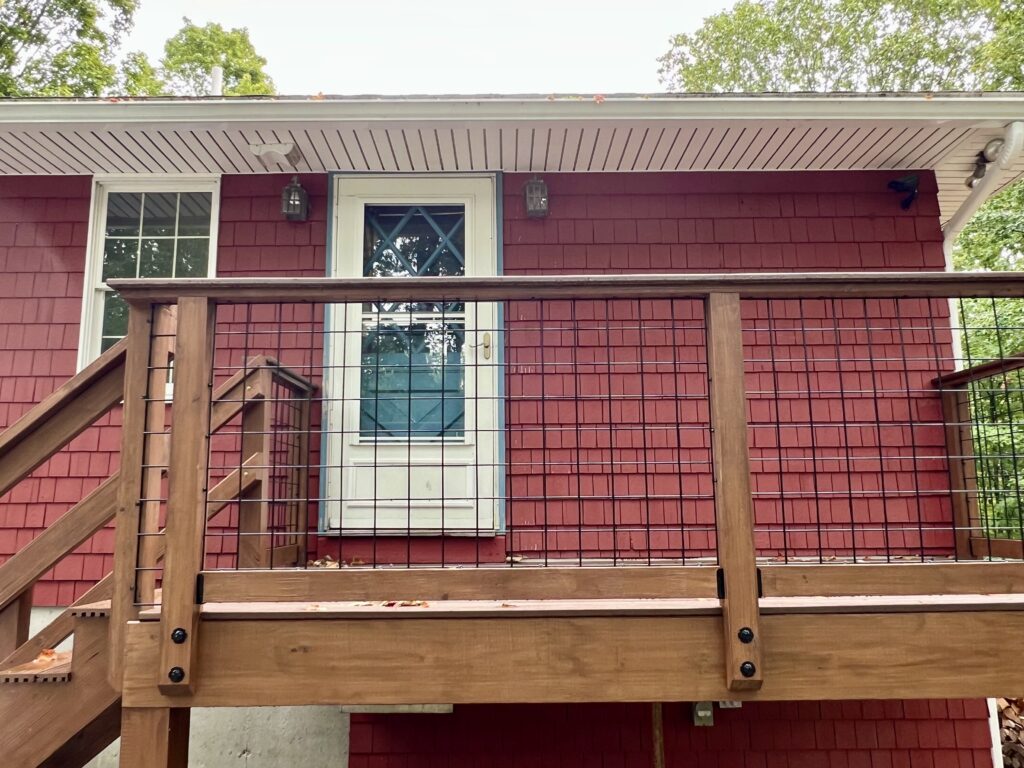
This deck was built by my husband in September 2025 right before we sold our house. Honestly, it was bitter sweet leaving our New Hampshire home and we wanted to leave the place and the buyers with something nice.
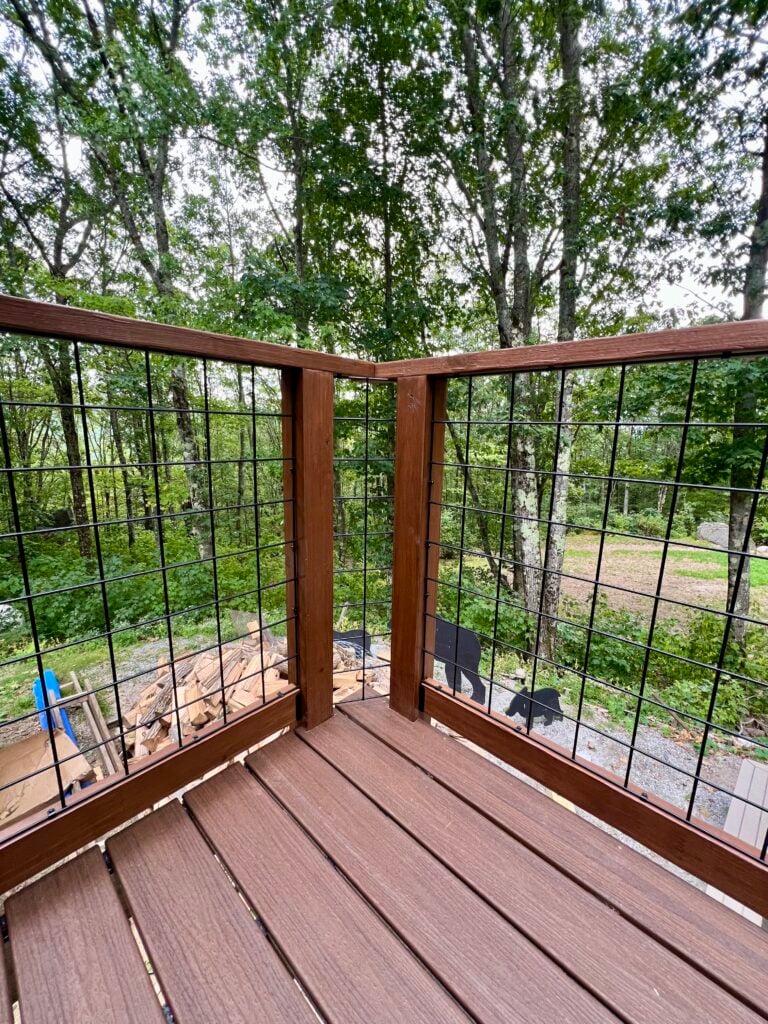
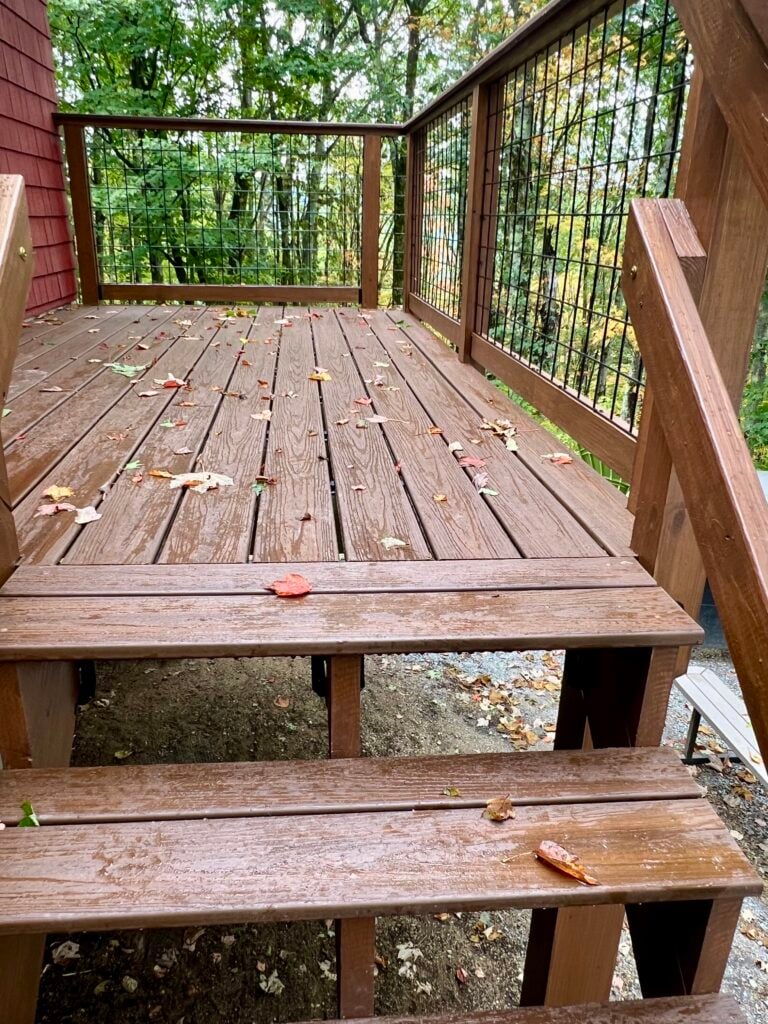
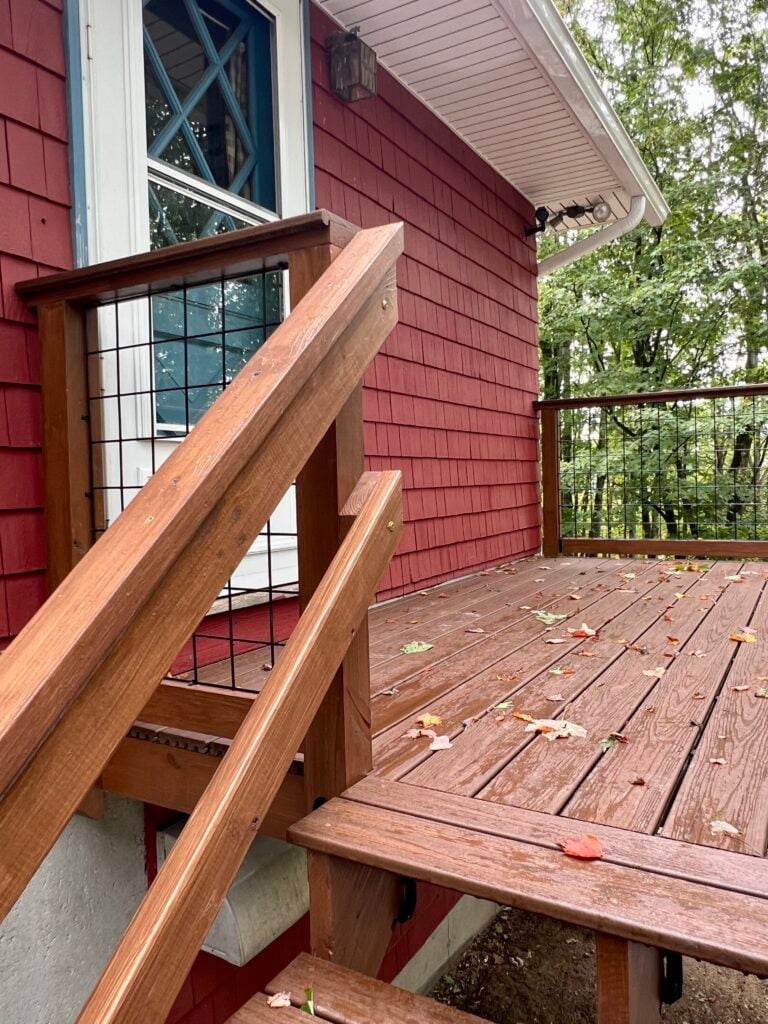
After a lot of research, we decided on a DIY Trex composite deck with a hog wire railing, and I’m so glad we did.
This post is for inspiration purposes. We took photos and documented some of the materials we used. I hope this is helpful and gives you some inspiration and ideas!

This post may contain affiliate links. As an Amazon Associate I earn from qualifying purchases.
Why We Chose Trex Composite Decking
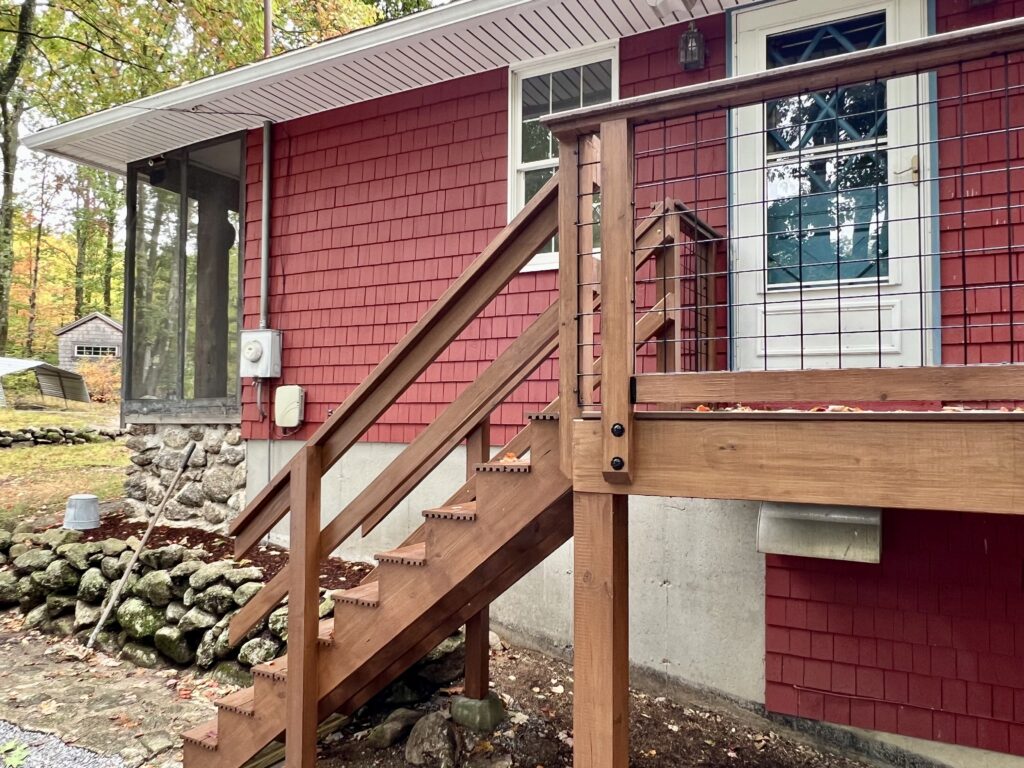
We live in a wooded area, which means moisture, leaves, shade, and a lot of wear over time. As you can see above from our old deck, it was turning green from all the moisture and moss through the years. I can’t tell you how many times I slipped and fell down those stairs after a good rain because of how slippery the stairs were because of the moss. While traditional pressure-treated wood is more affordable upfront, we knew the benefits of trex decking in the long run was worth the extra price tag. The new owners will not have to deal with constant staining, sealing, or moss build up down the road.
Trex composite decking checked all the boxes for us:
- No staining or sealing required
- Resistant to rot, insects, and moisture
- Holds up well in shaded, wooded environments
- Clean, finished look with hidden fasteners
For a DIY deck build, especially one attached to the house, the long-term durability made Trex worth the investment.
Planning Our DIY Deck Build
Before any boards were cut, we spent time planning the layout and size of the deck. This was a small deck build, designed to function as an entry and sitting space rather than a large entertaining area.
Key planning considerations:
- Deck size and height
- Attachment point to the house (ledger board)
- Post placement and footings
- Railing design and safety
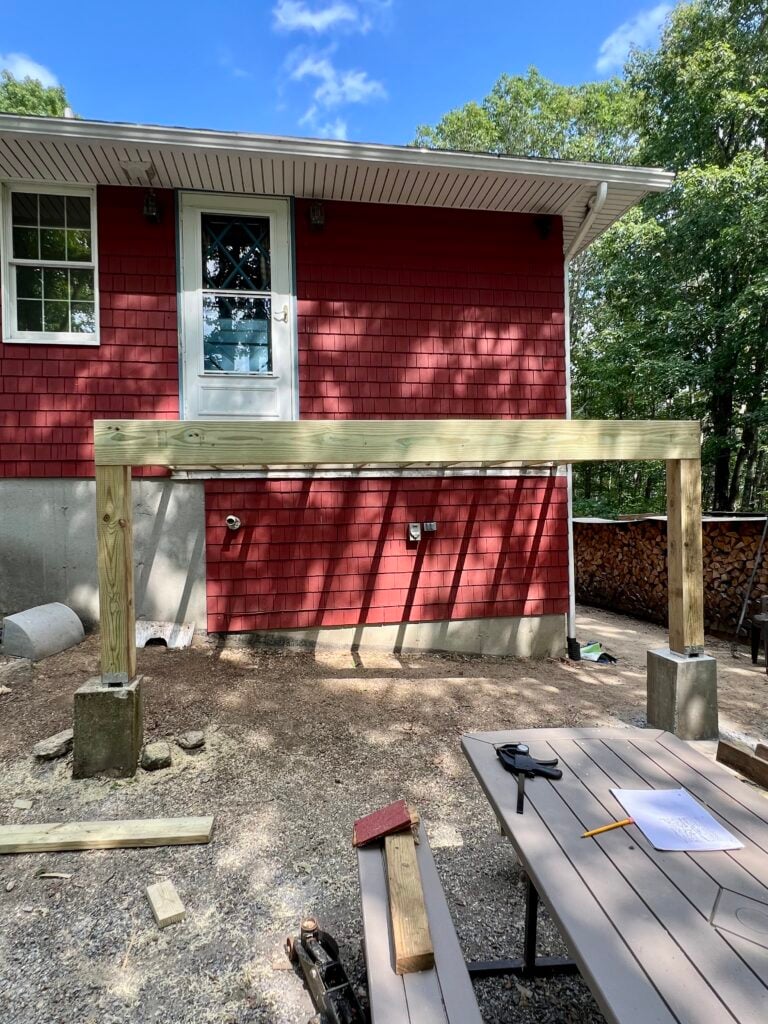
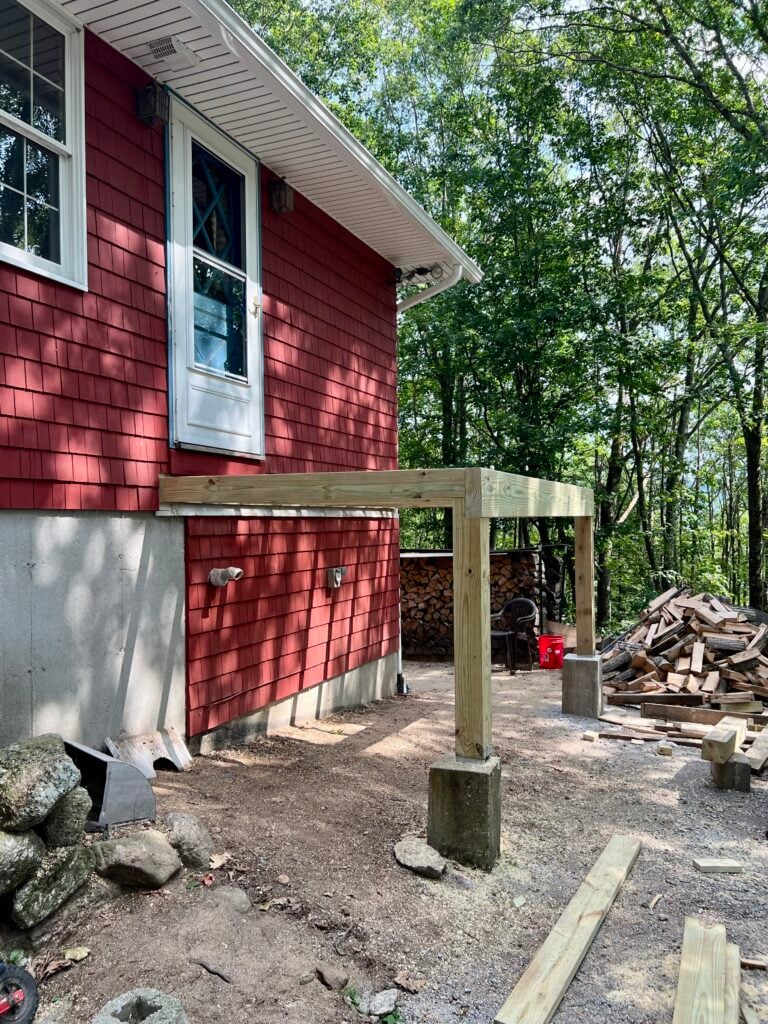
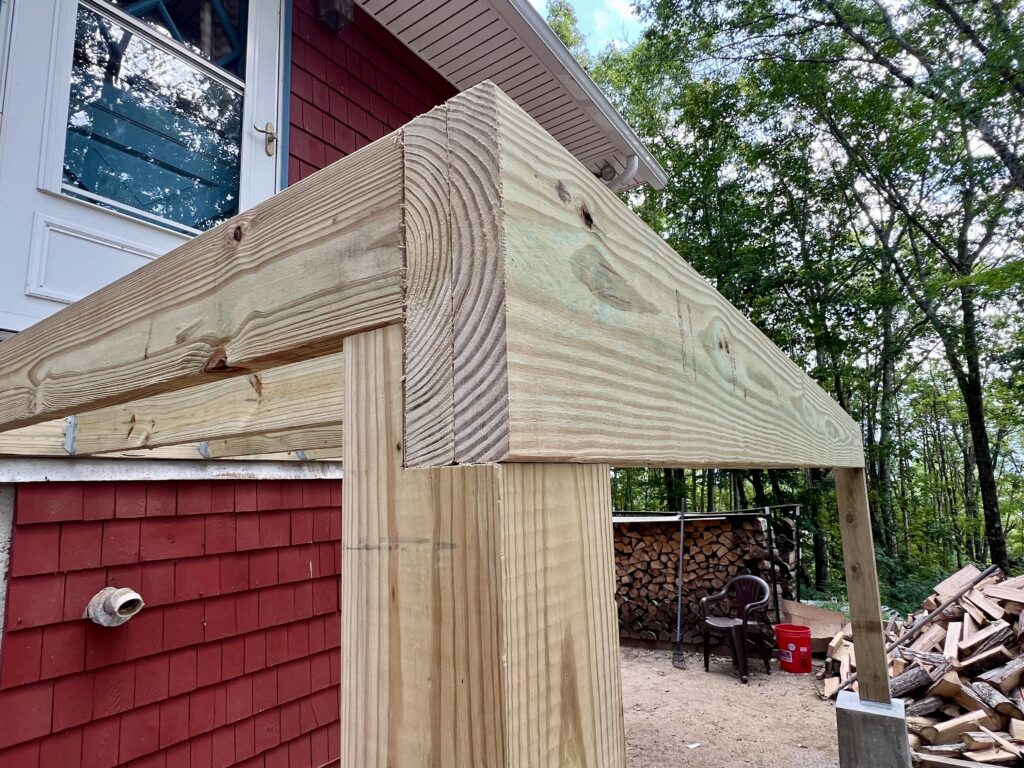
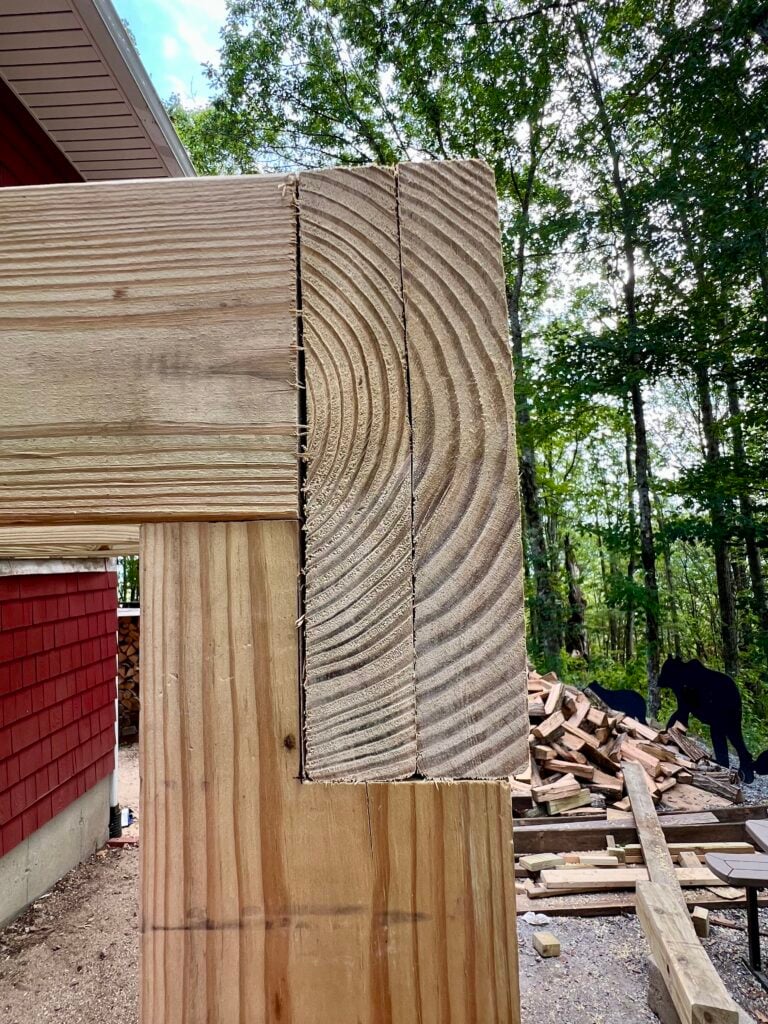
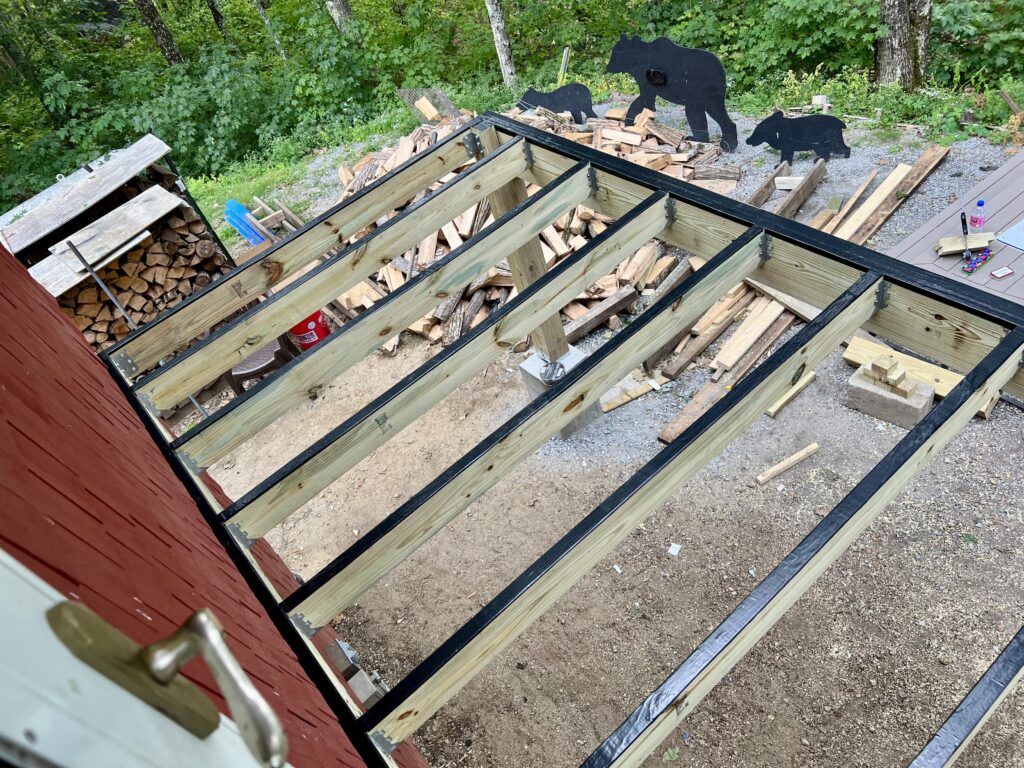
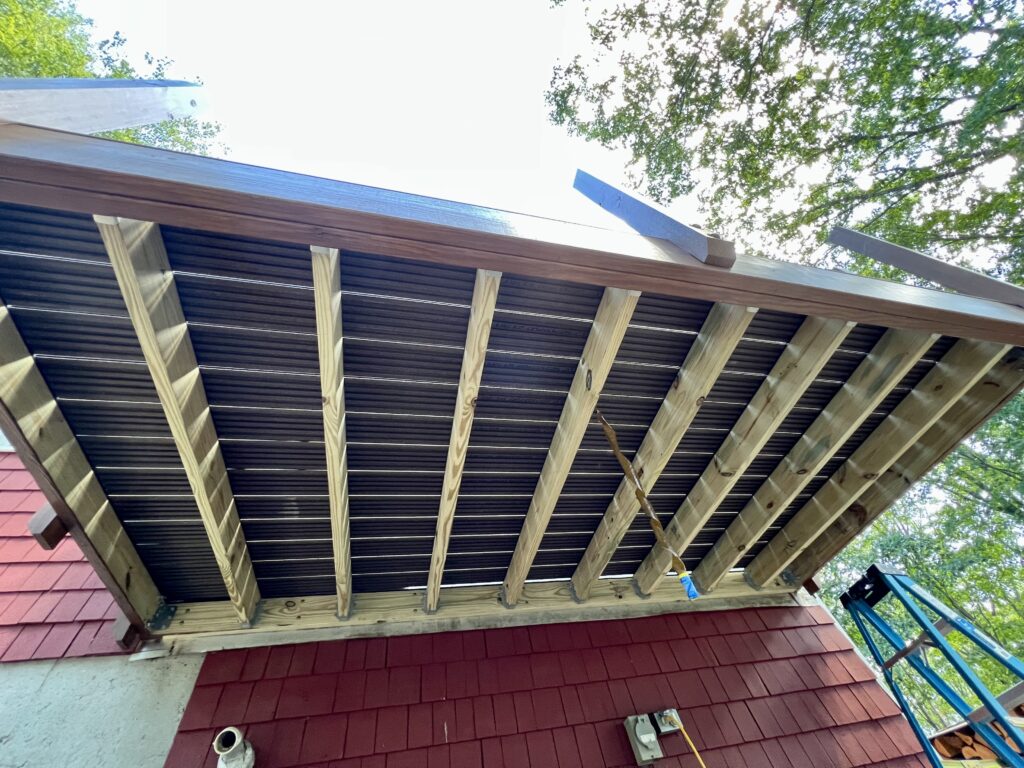
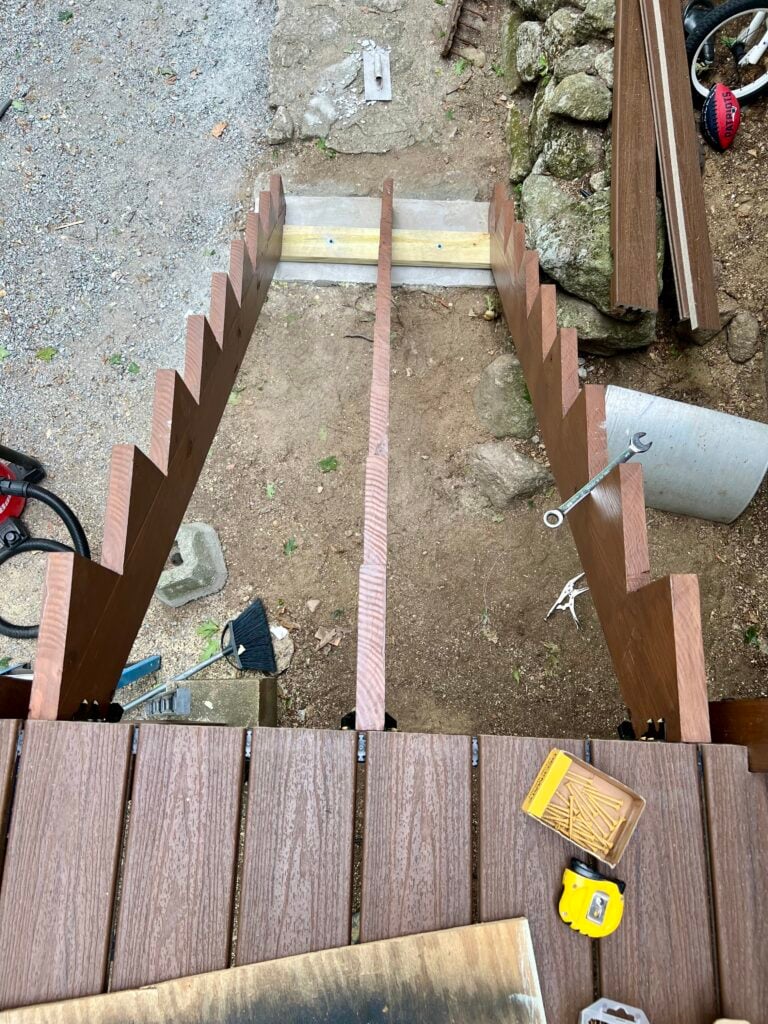
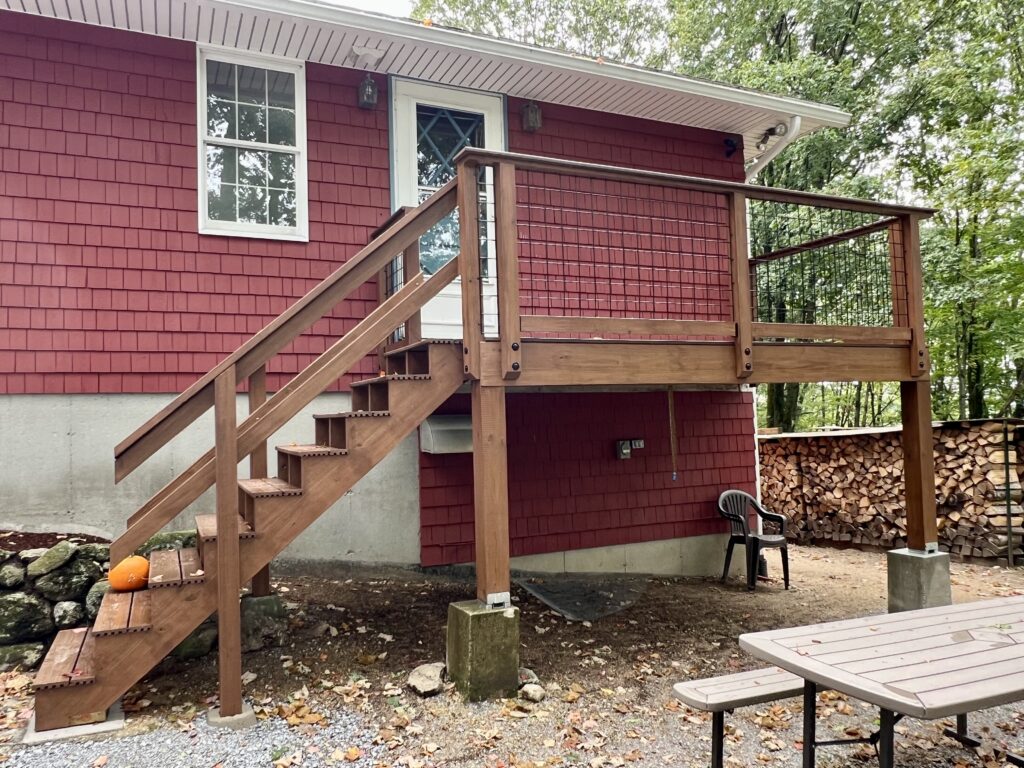
Deck Framing: The Foundation of the Build
The framing is the most important part of any deck build. Everything else depends on this structure being solid, level, and square.
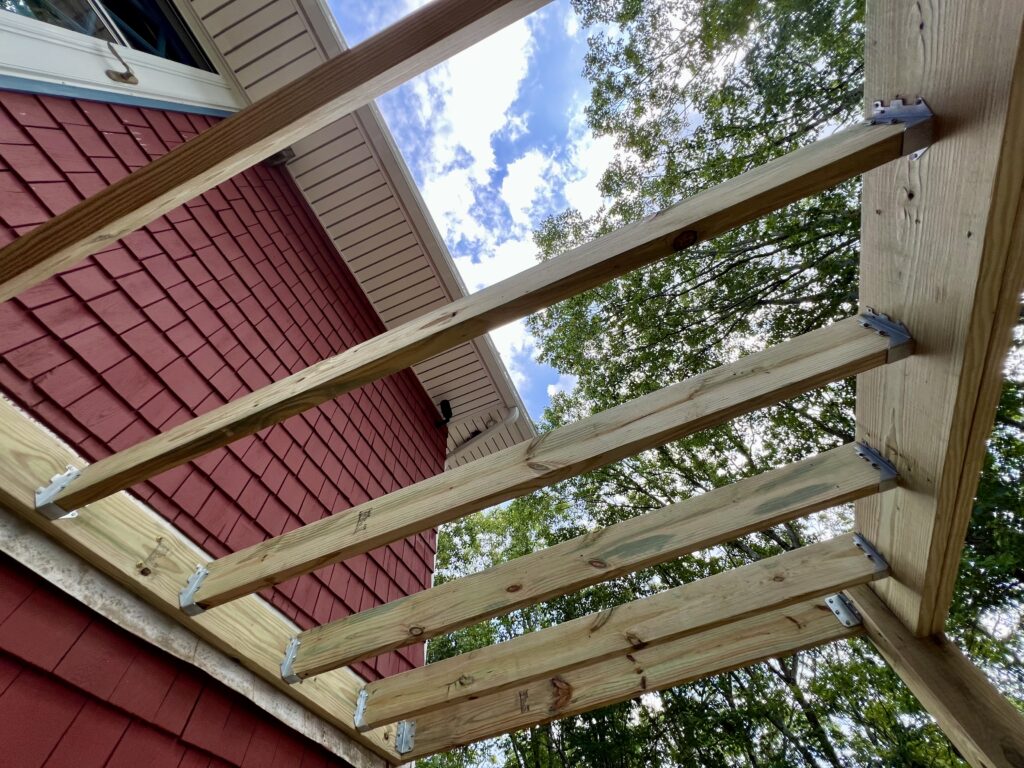
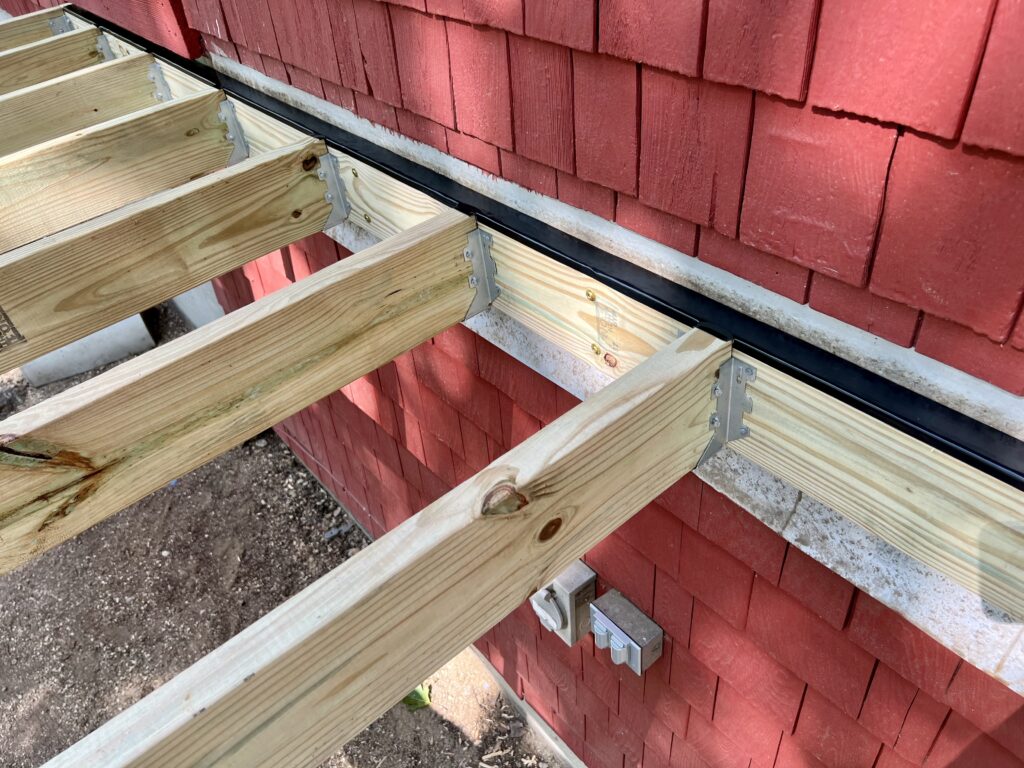
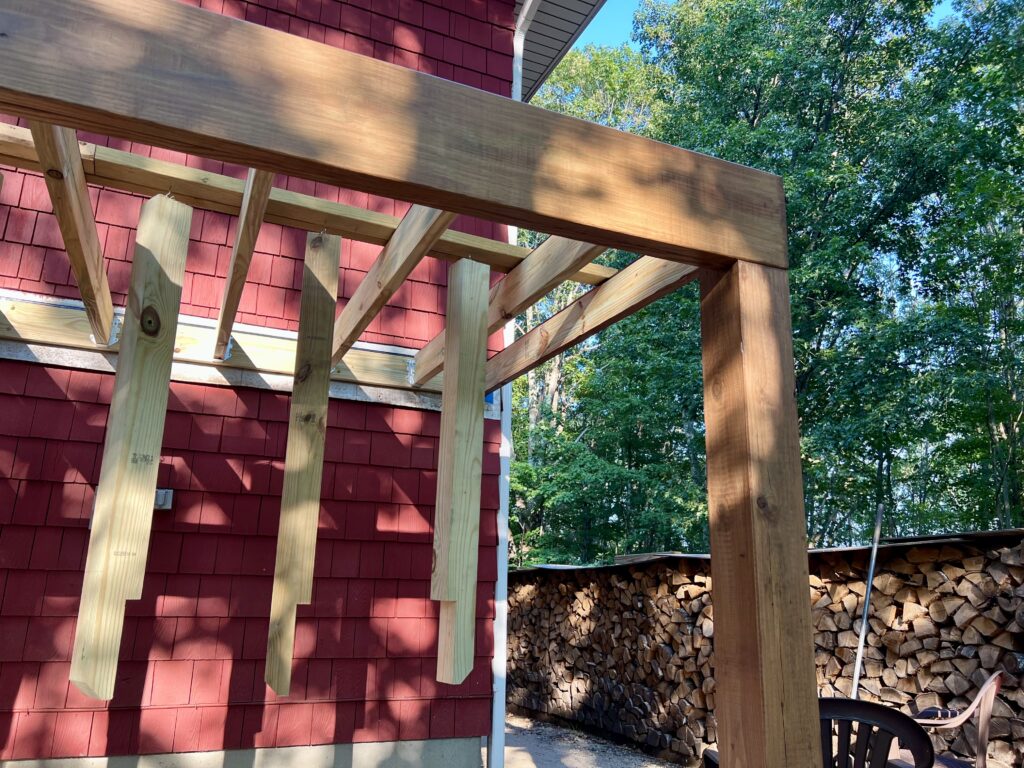
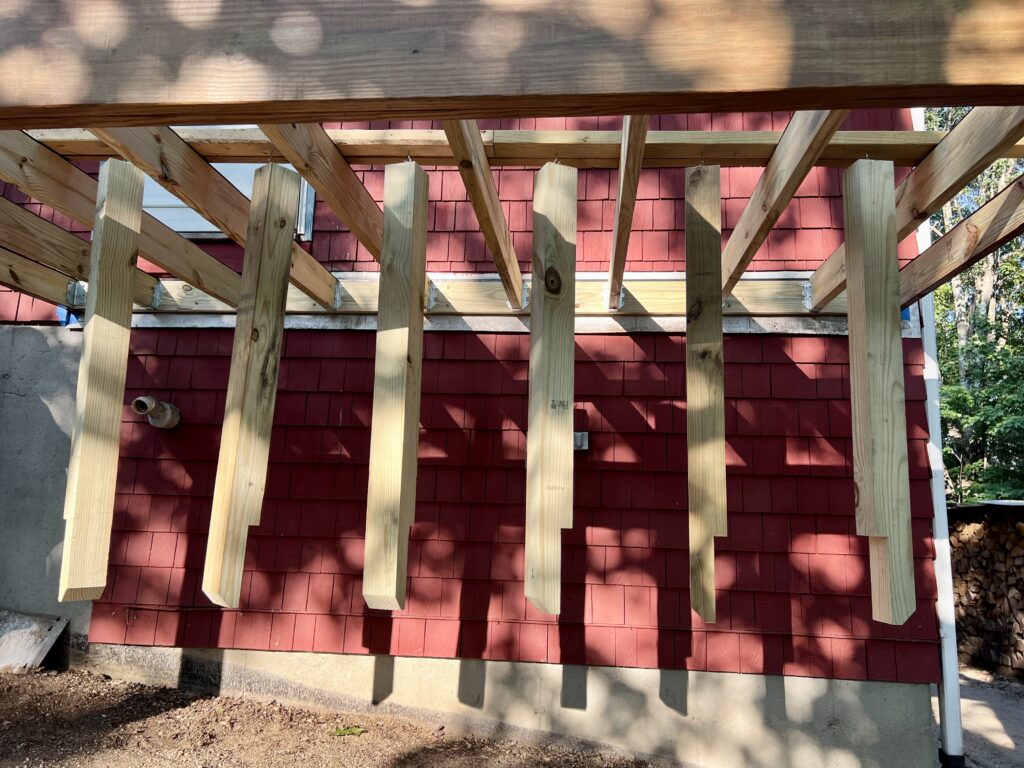
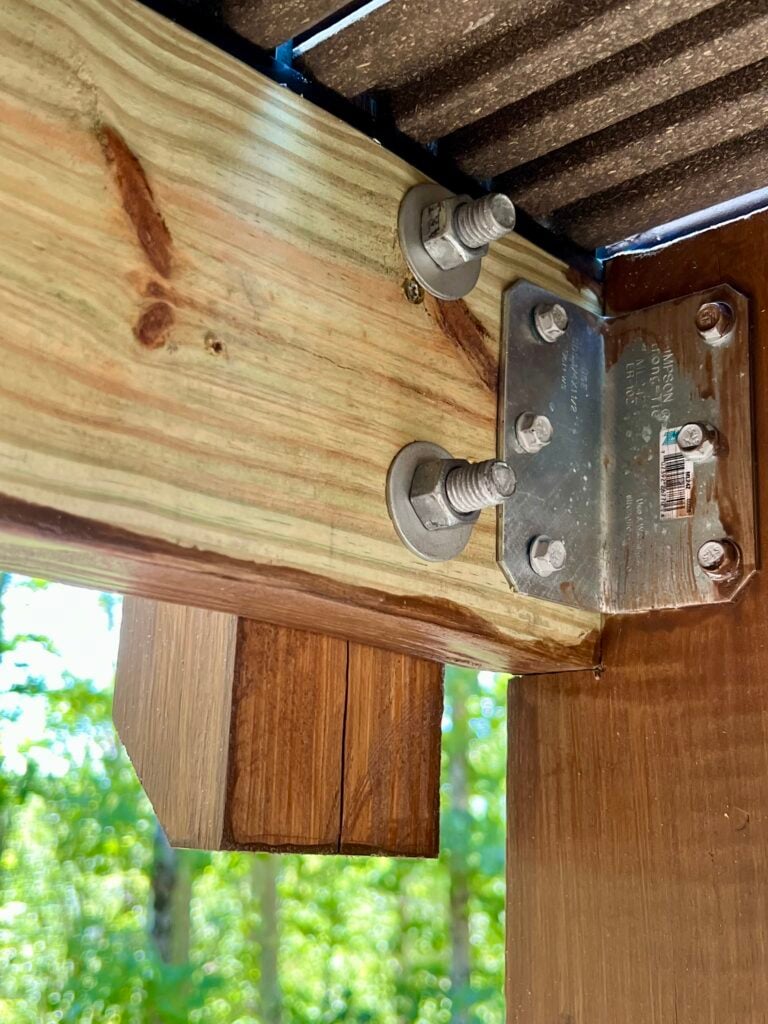
Ledger Board Installation
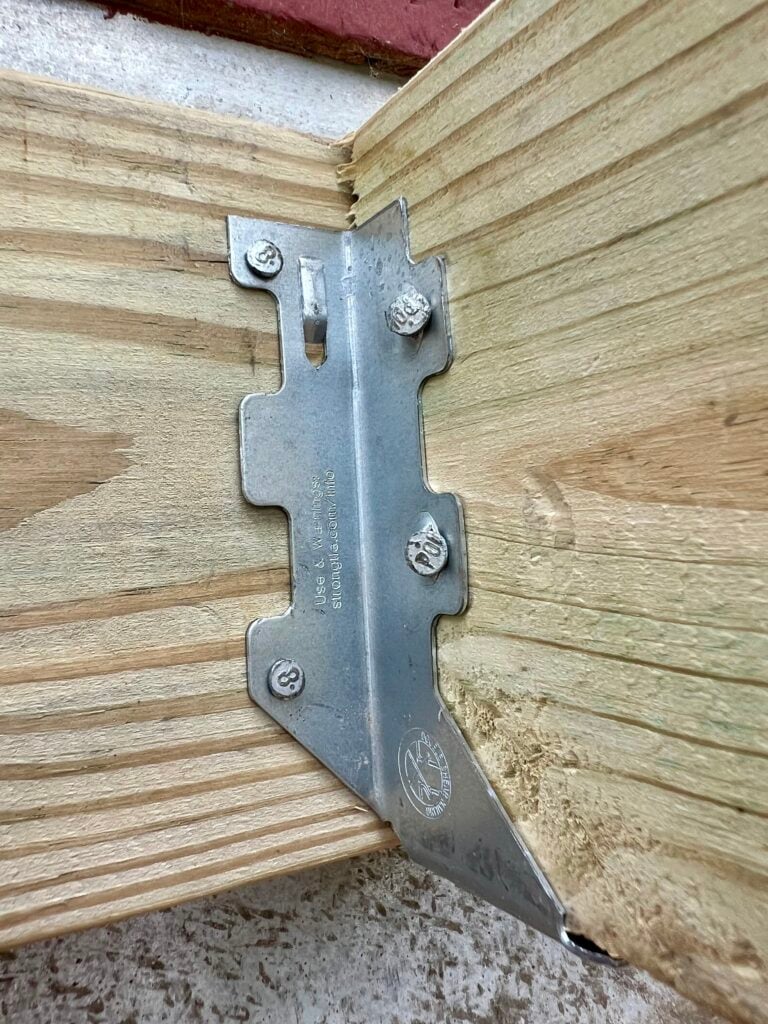
The deck is attached to the house using a ledger board, securely fastened and flashed to prevent water intrusion. Joist hangers were installed to evenly support the deck joists.
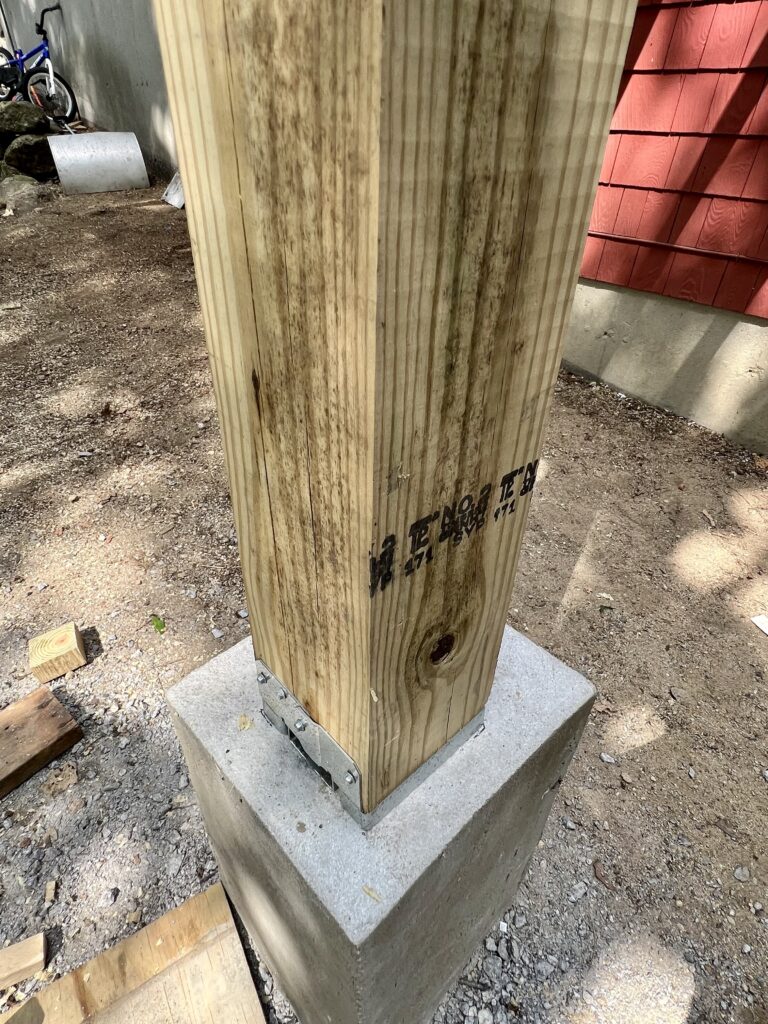
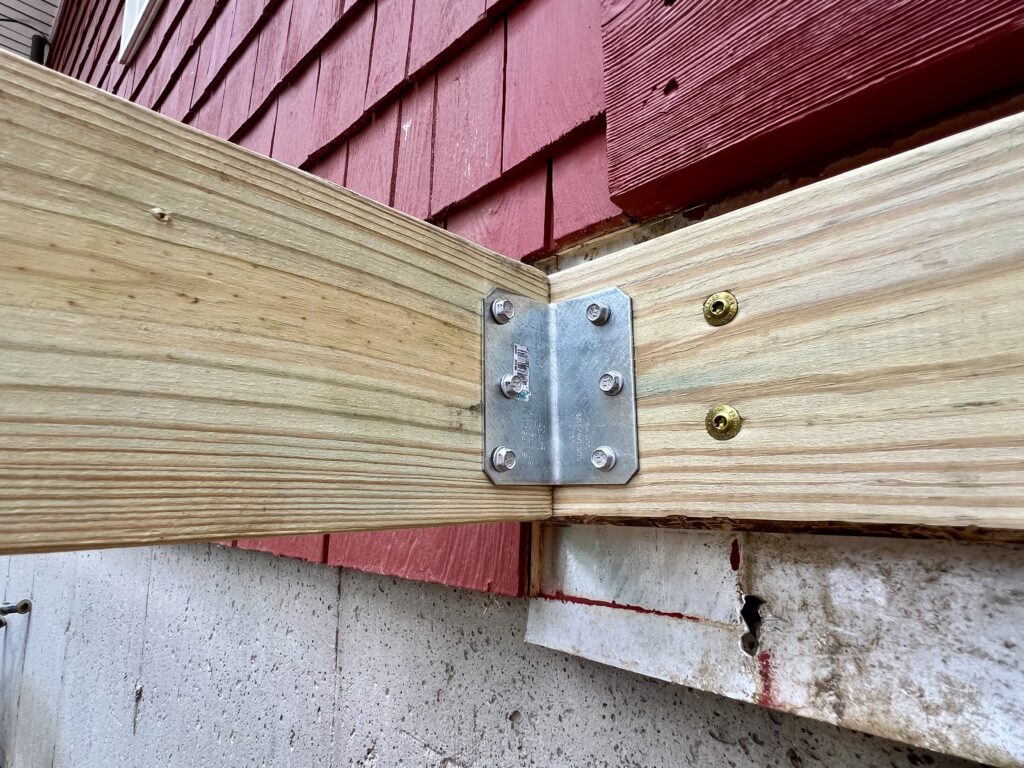
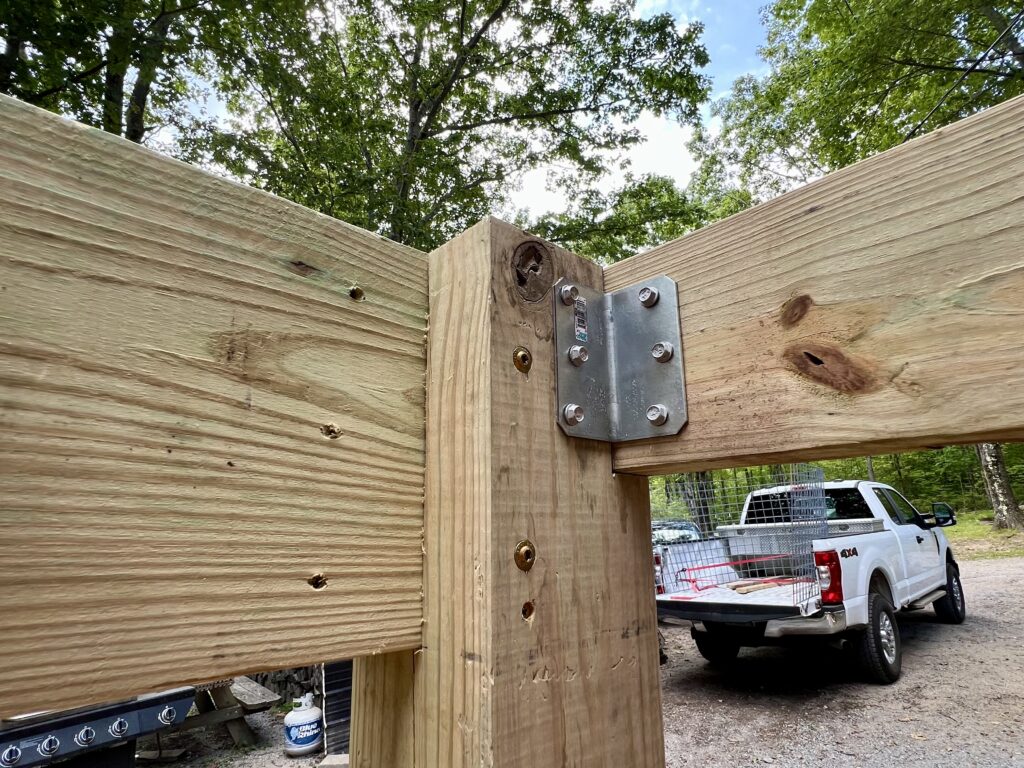
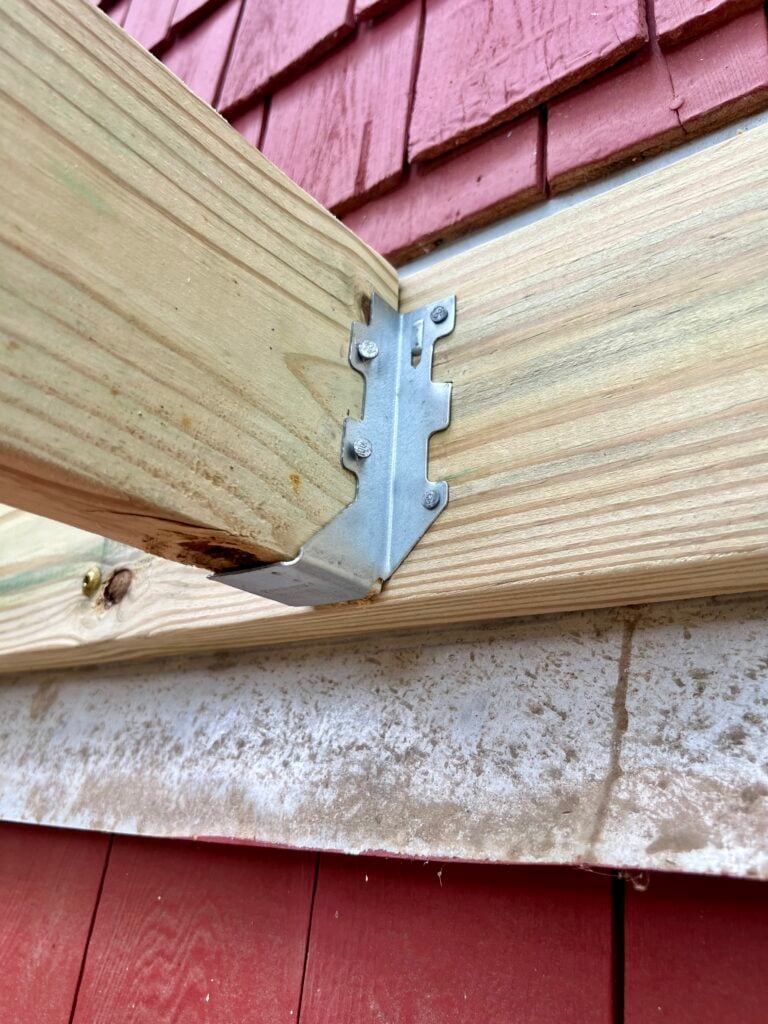
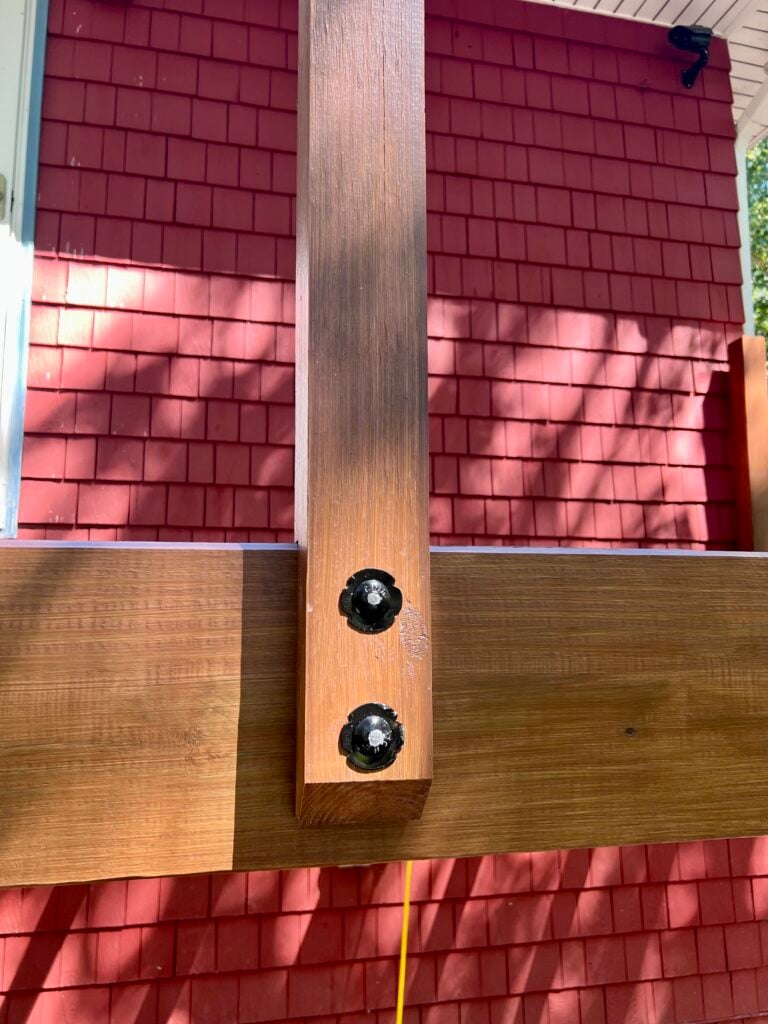
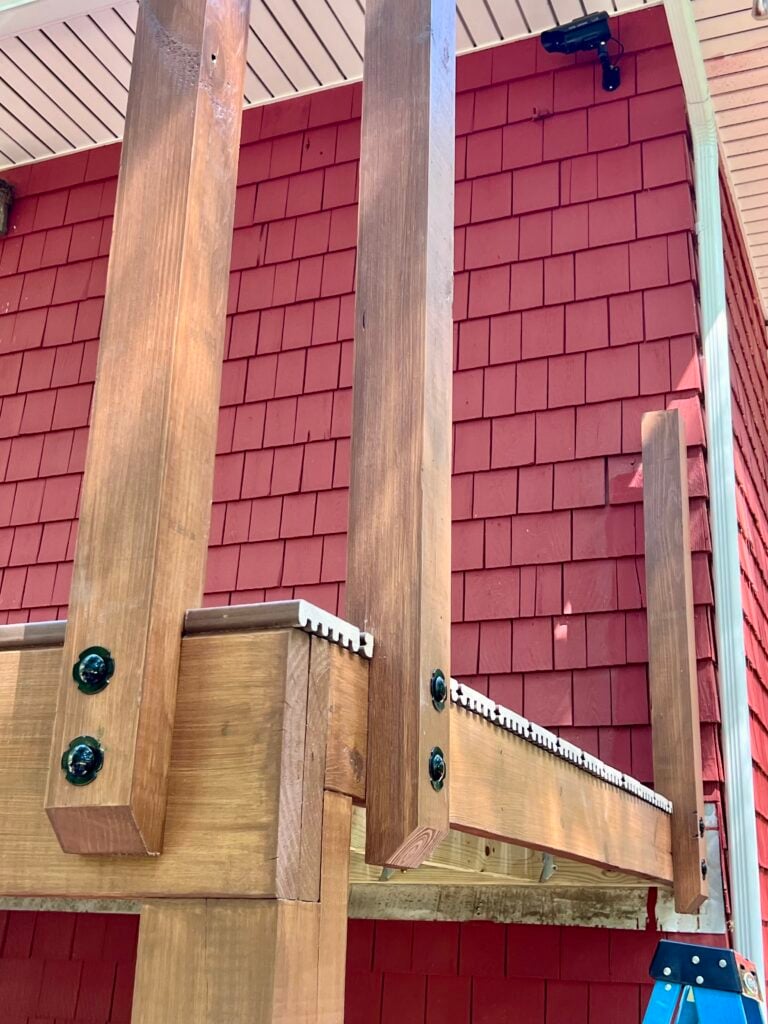
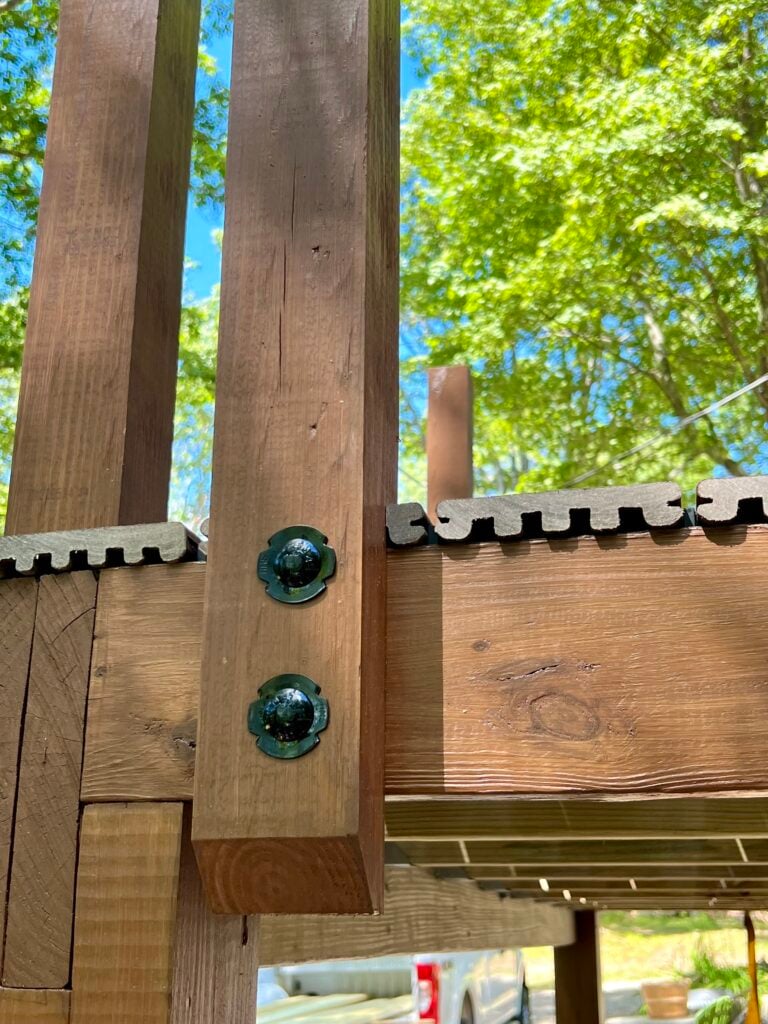
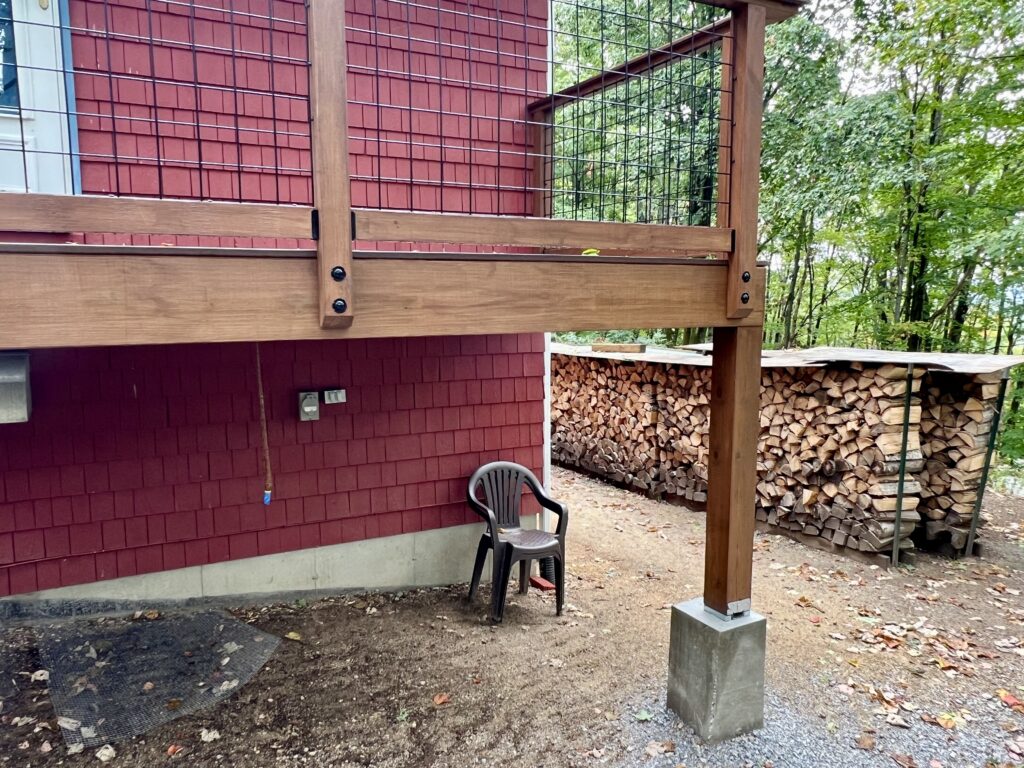
Posts, Beams, and Footings
Pressure-treated posts were set on concrete footings using metal post bases. Beams were bolted to the posts using carriage bolts and reinforced with galvanized brackets for added strength.
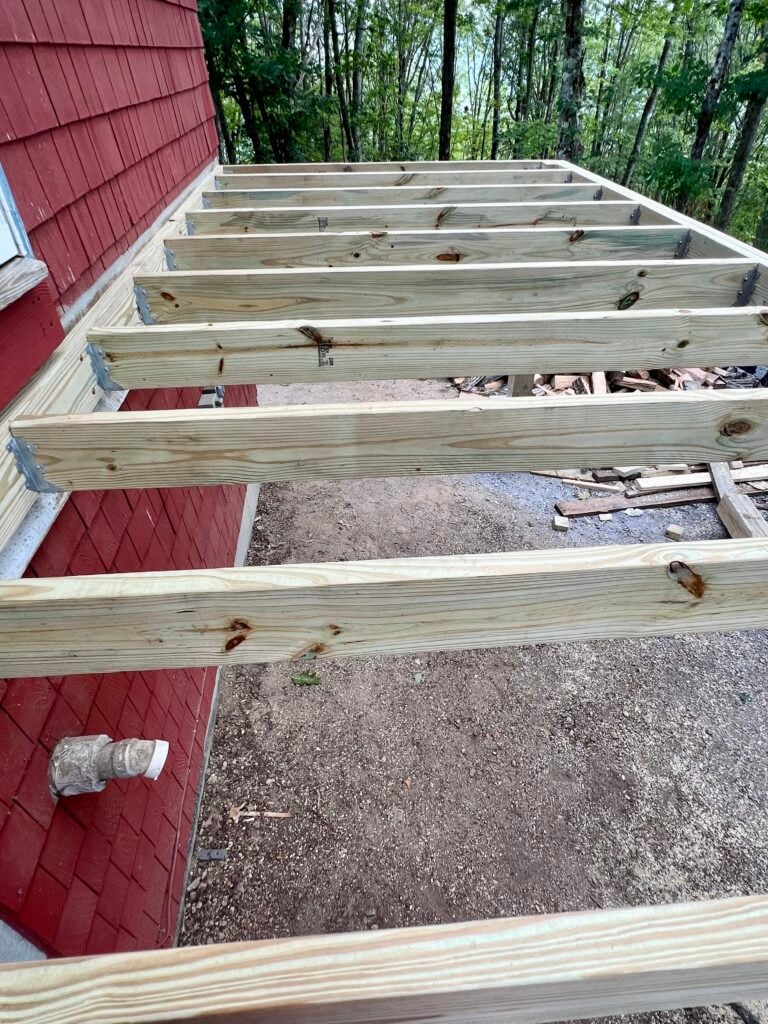
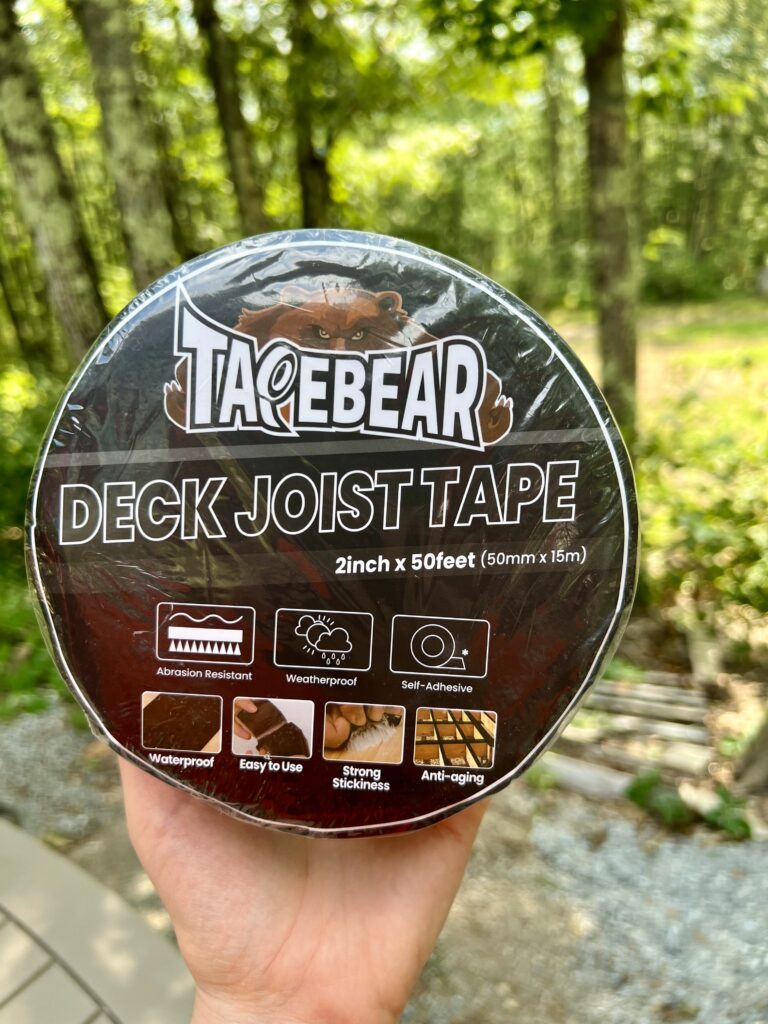
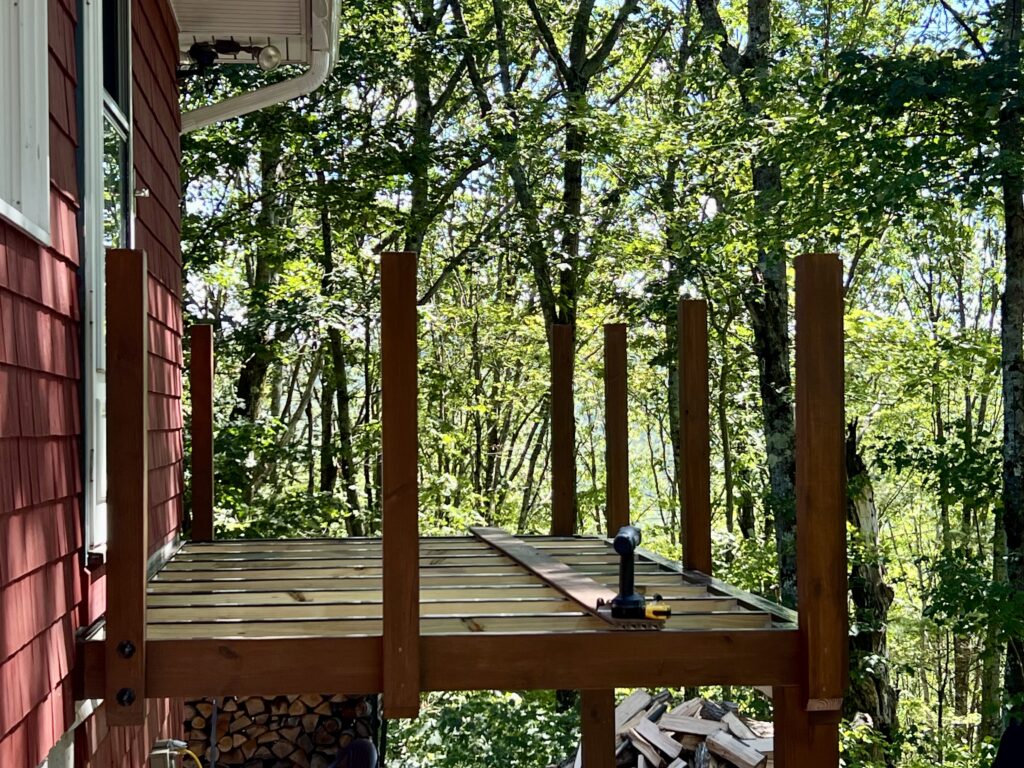
Joists and Joist Tape
Once the beams were in place, deck joists were installed and spaced evenly. We added deck joist tape to the tops of the joists — a small step that goes a long way in protecting the framing from moisture and extending the life of the deck.
This stage doesn’t look pretty, but it’s what makes the deck feel rock-solid when it’s finished.
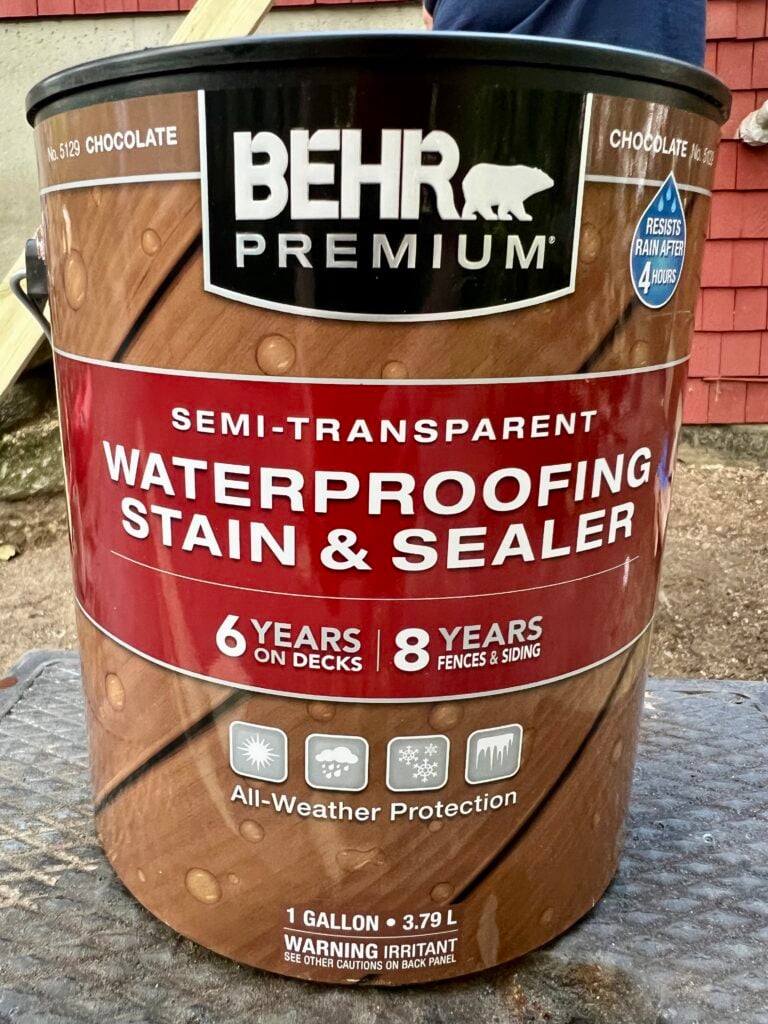
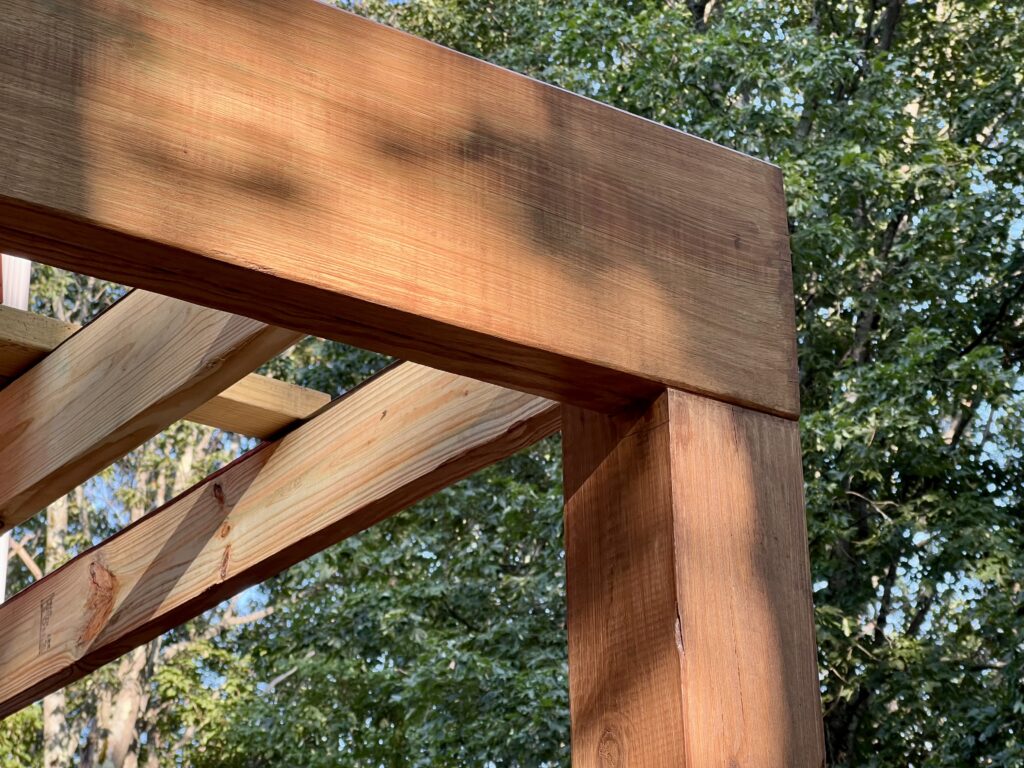
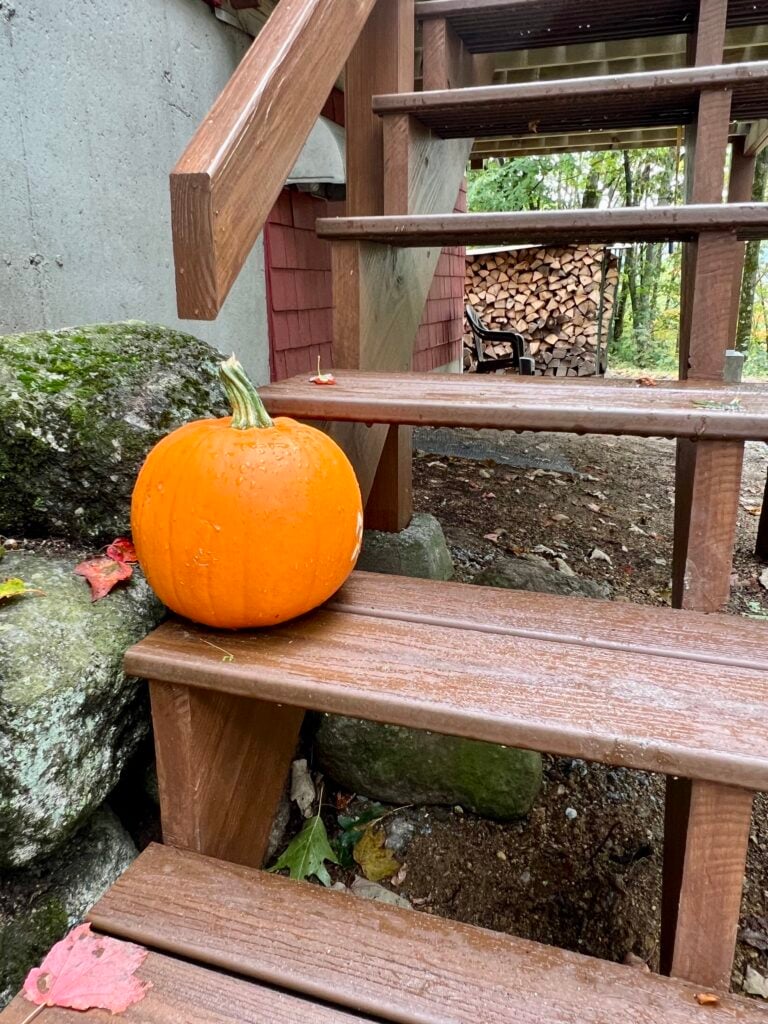
Staining and Finishing Touches
While Trex boards don’t need staining, we did stain the pressure-treated posts and beams to protect the wood and help everything blend together visually.
This step really pulled the project together and made the deck feel closer to finished rather than “in progress.”

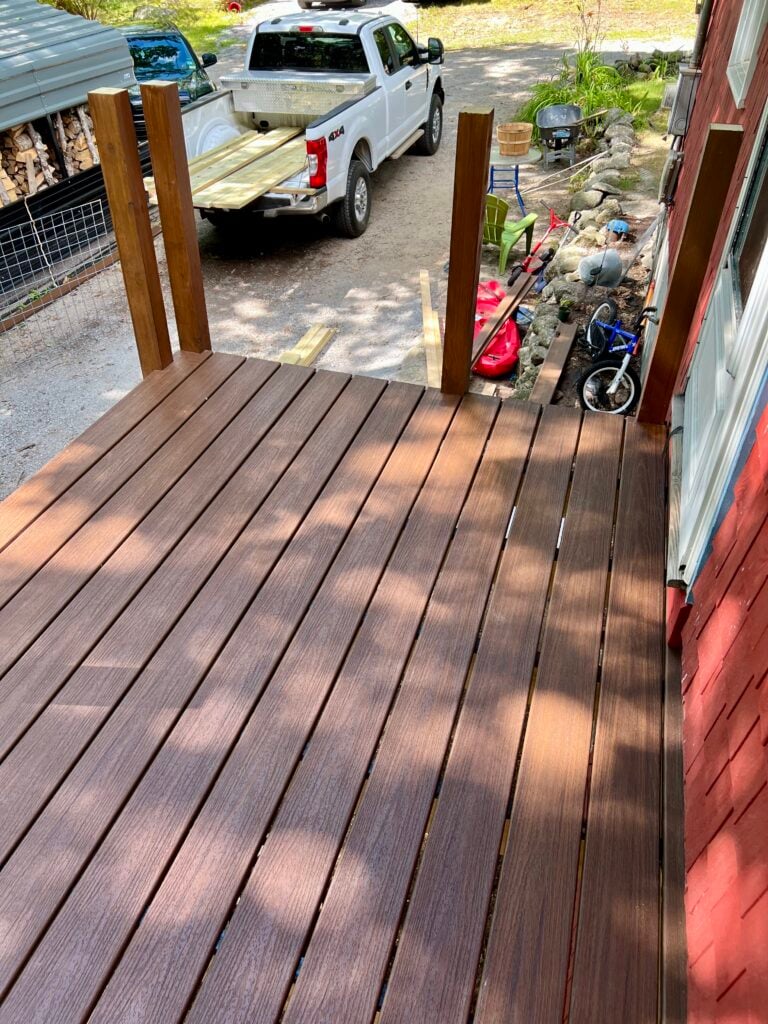
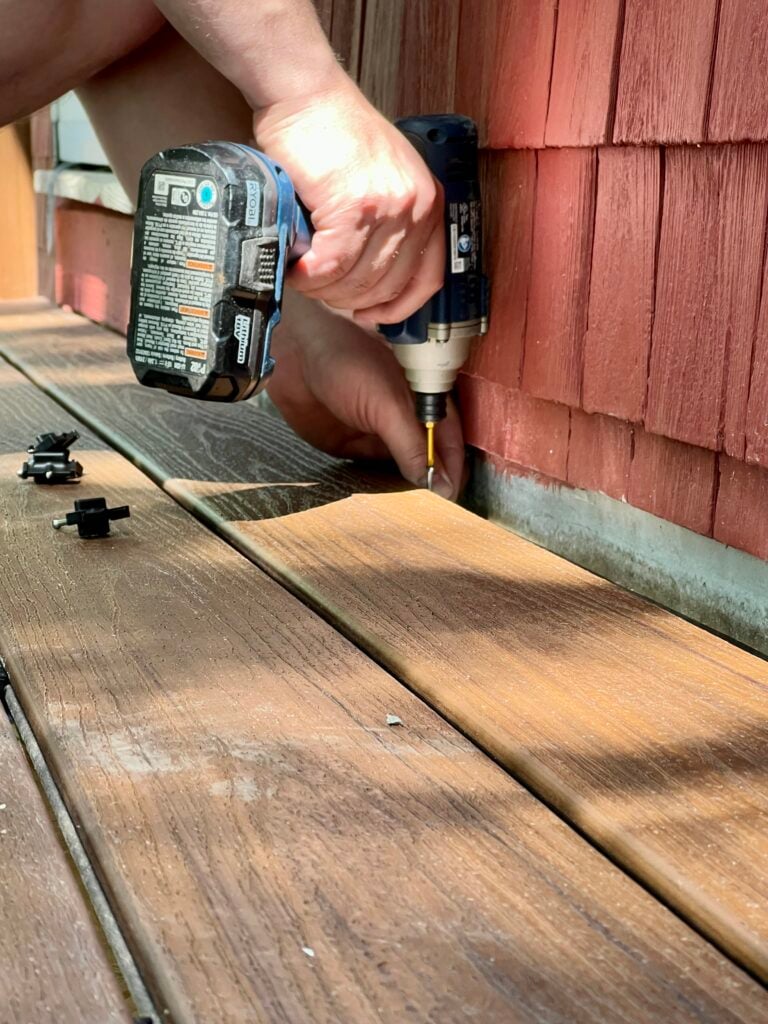
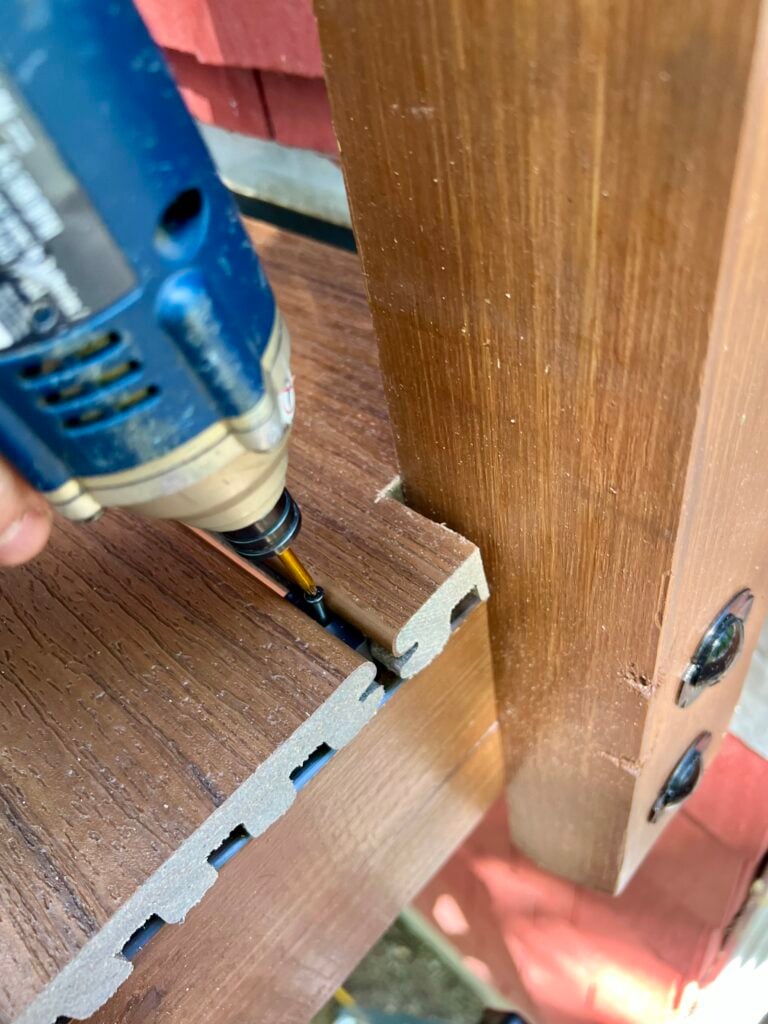
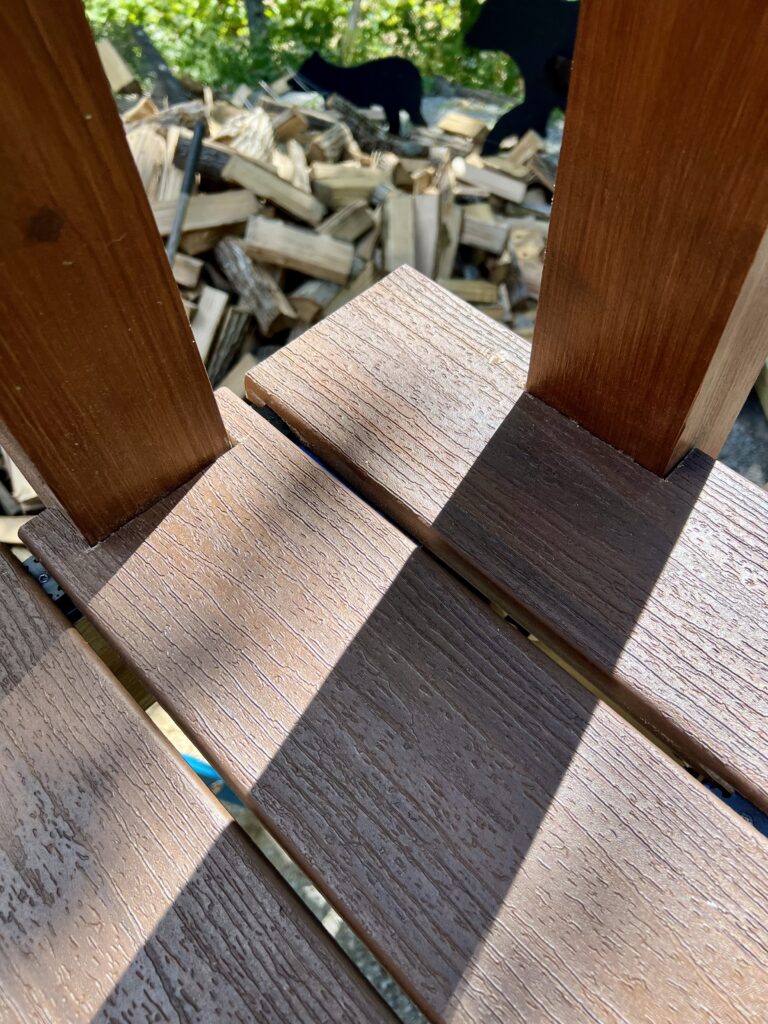
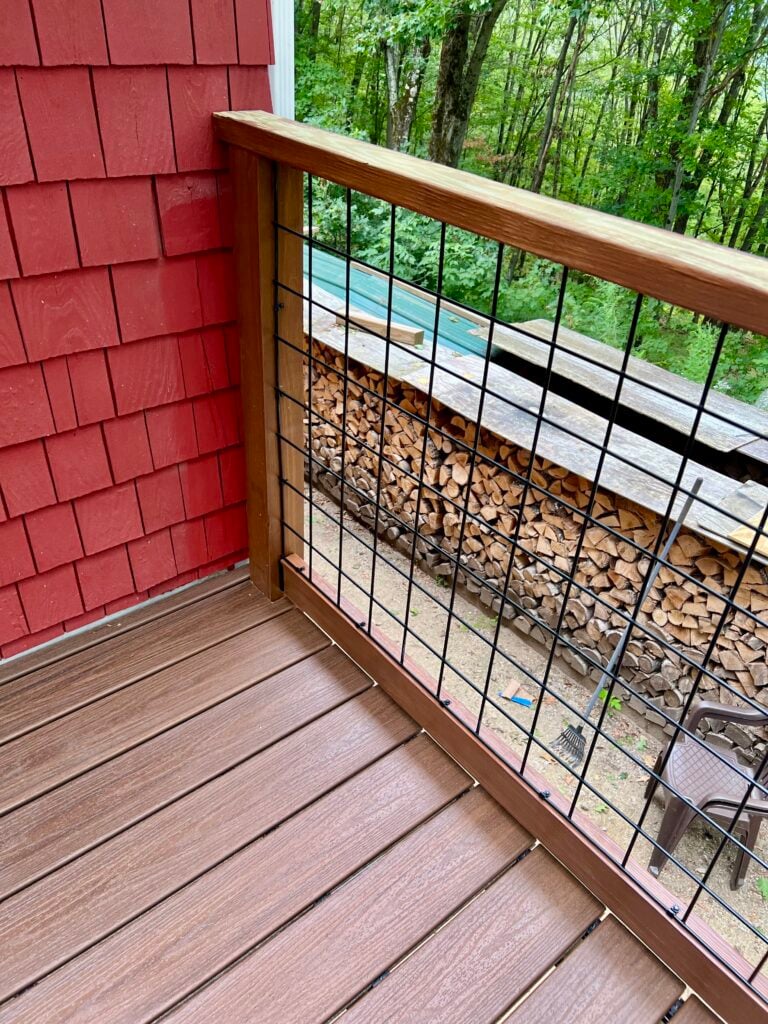
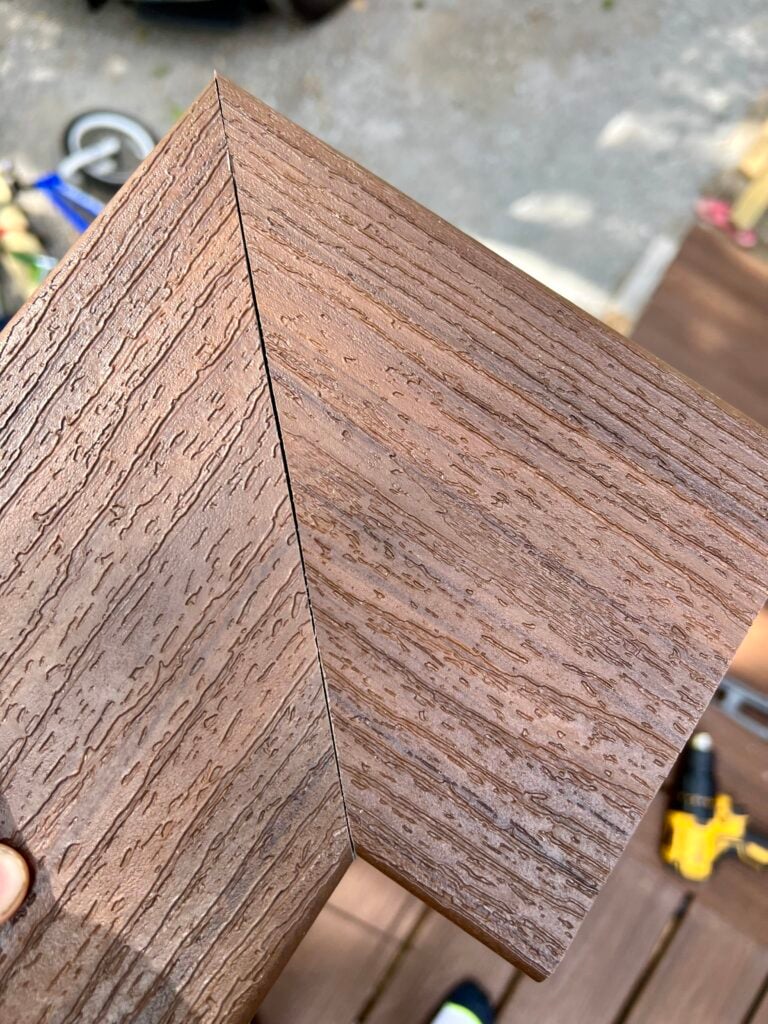
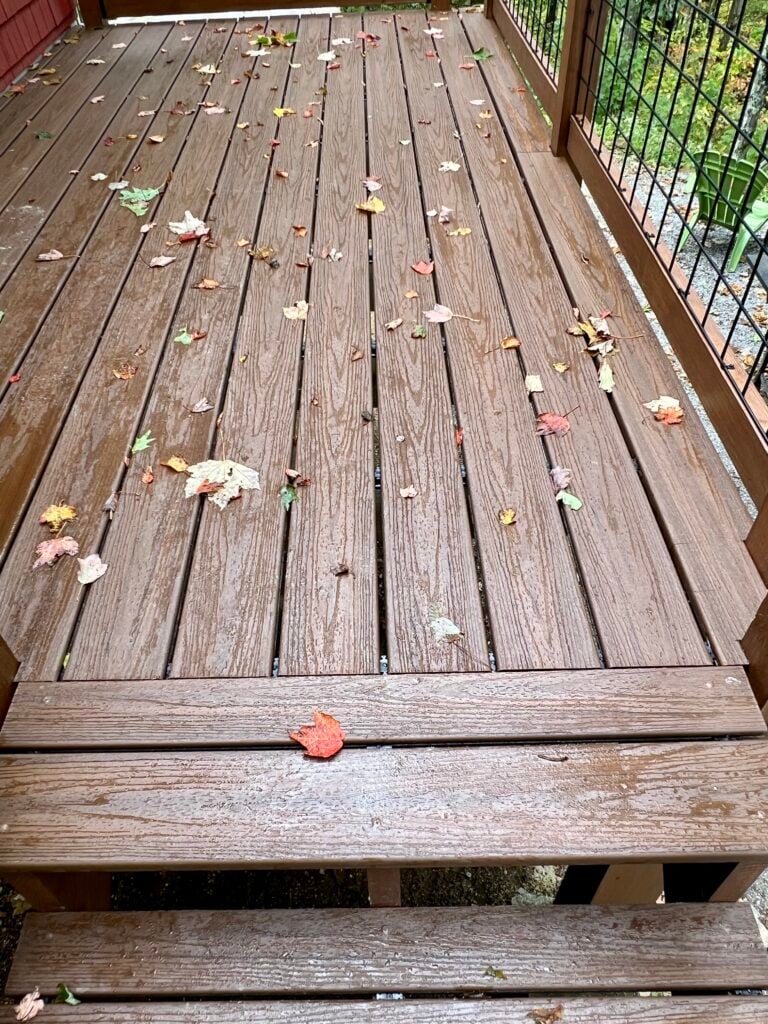
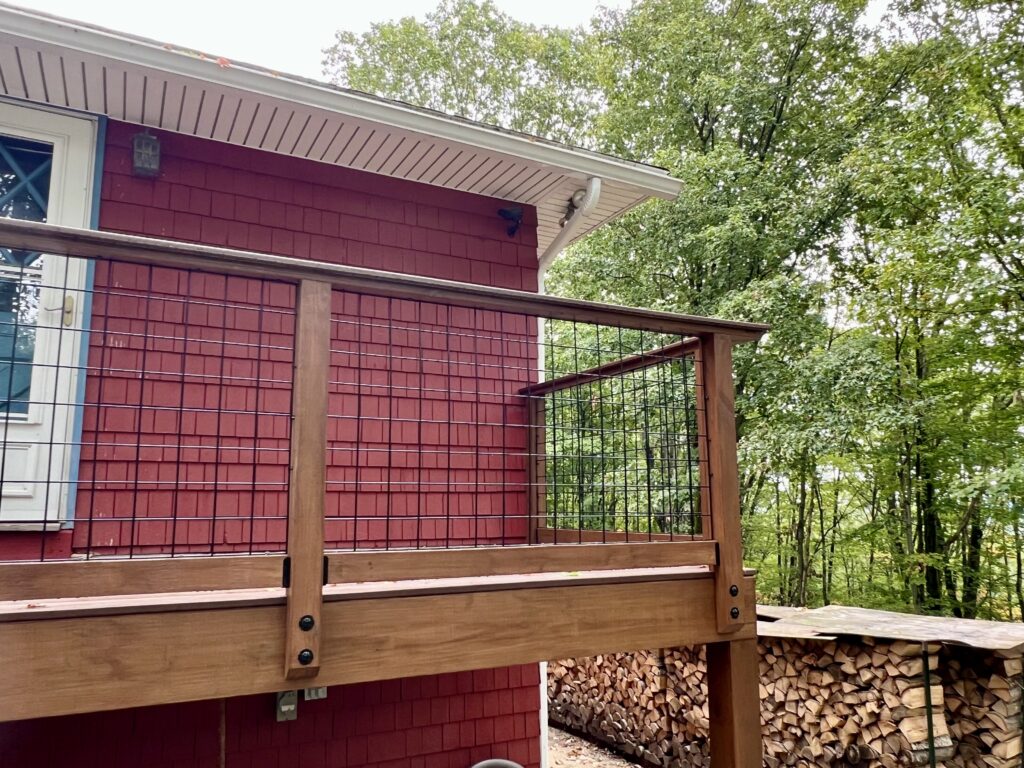
Installing Trex Decking Boards
Once the framing was complete, it was time for the fun part — installing the Trex decking boards.
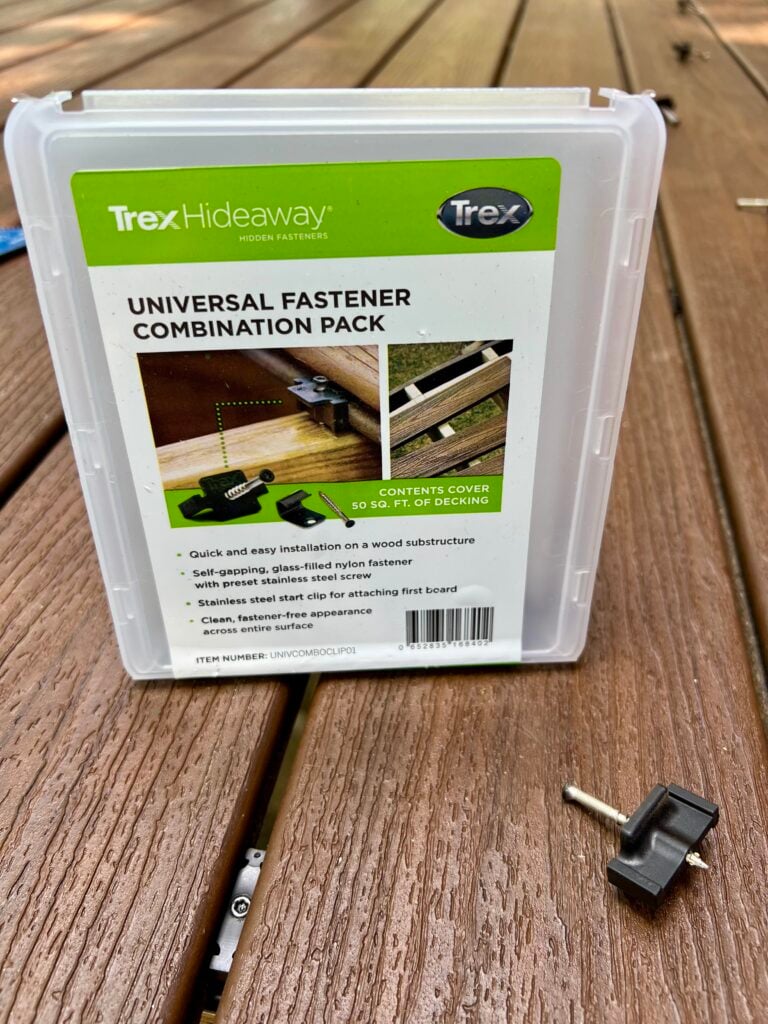
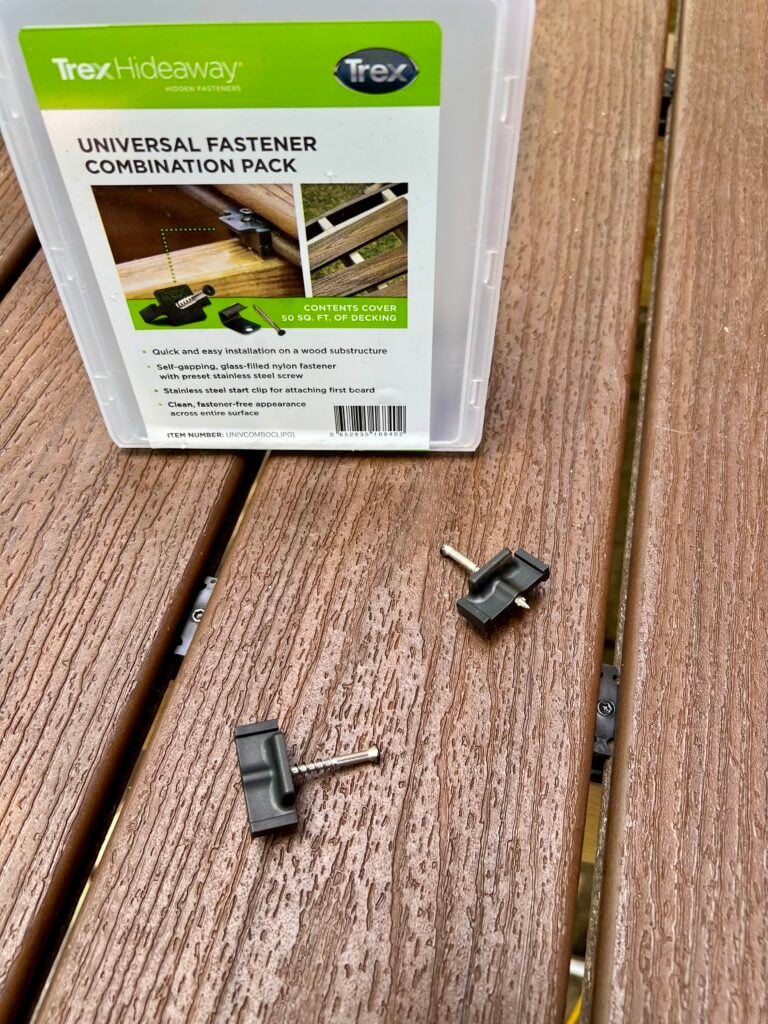
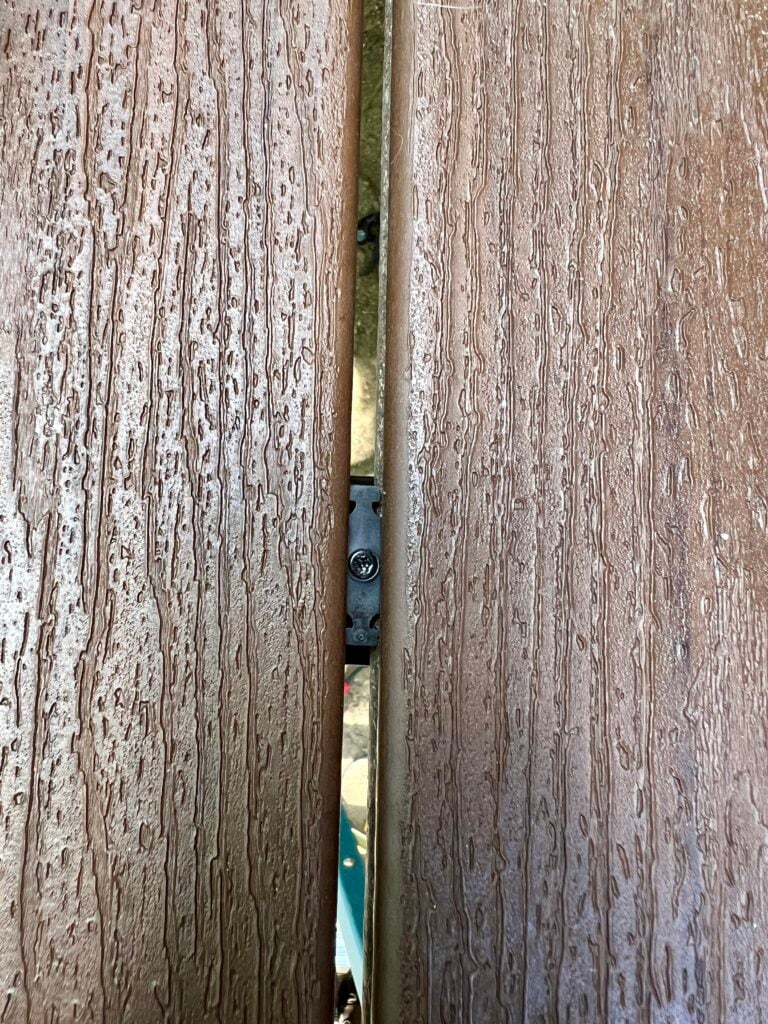
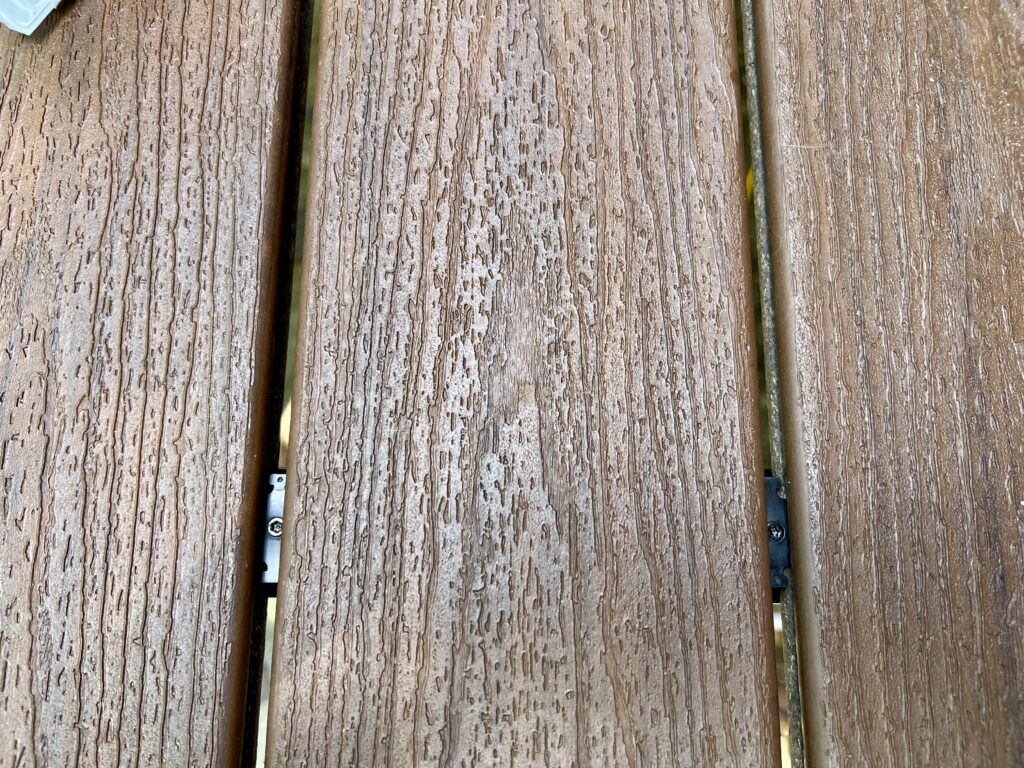
We used the Trex Hideaway hidden fastener system, which creates a clean, screw-free surface. This not only looks better but also makes the deck more comfortable underfoot.
Watching the deck surface come together was incredibly satisfying.


Shop this Post
- Joist Tape
- Trex hide away universal fasteners
- Cable Wire Screw Clips
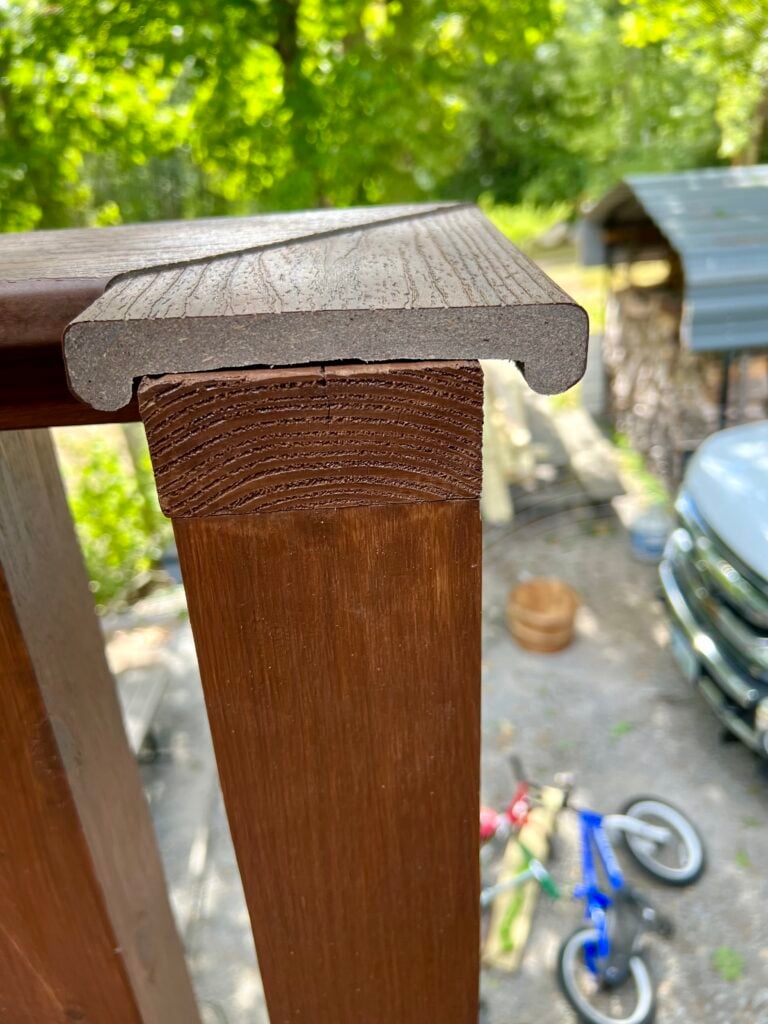
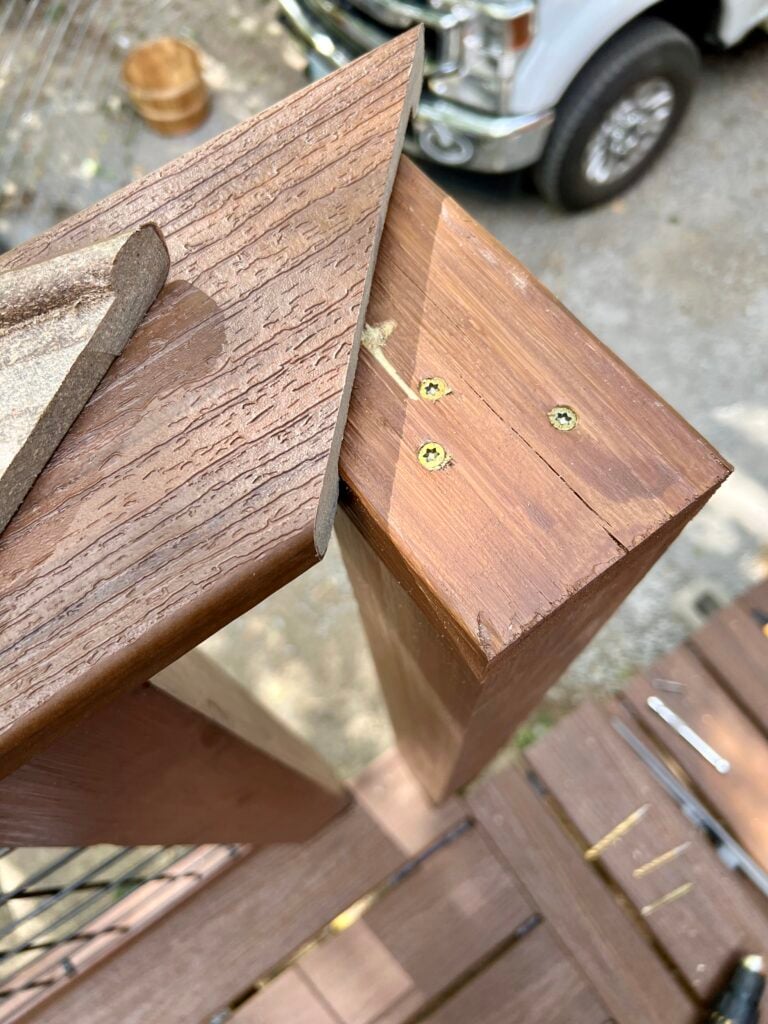
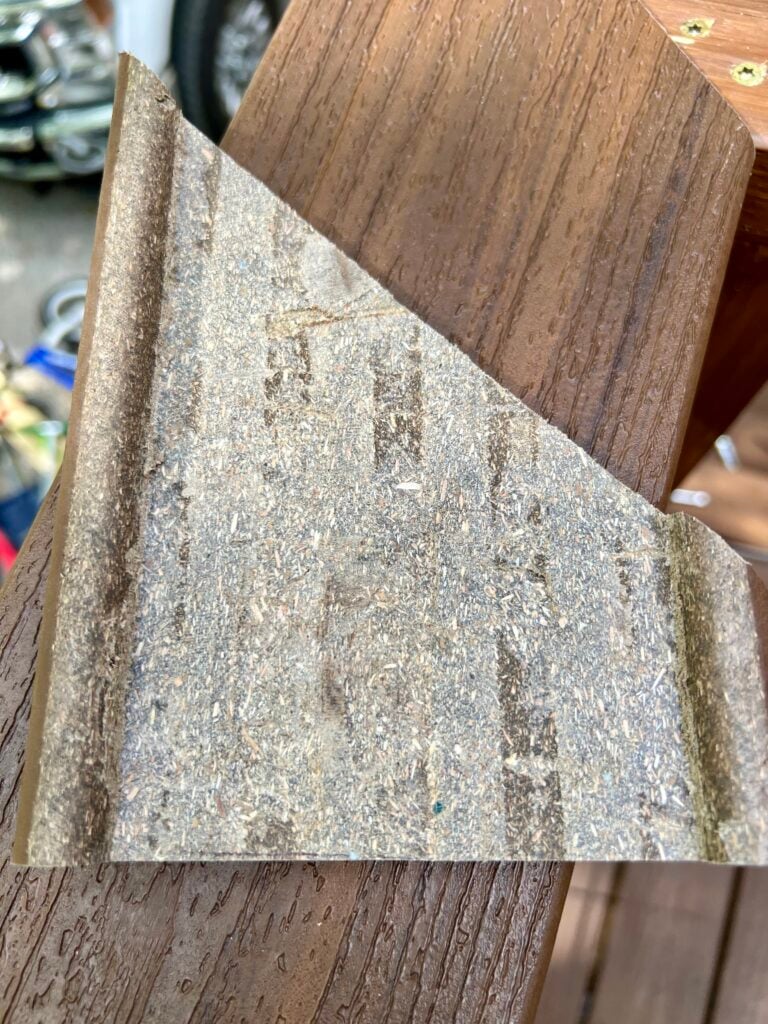
- Electric Hand Planer
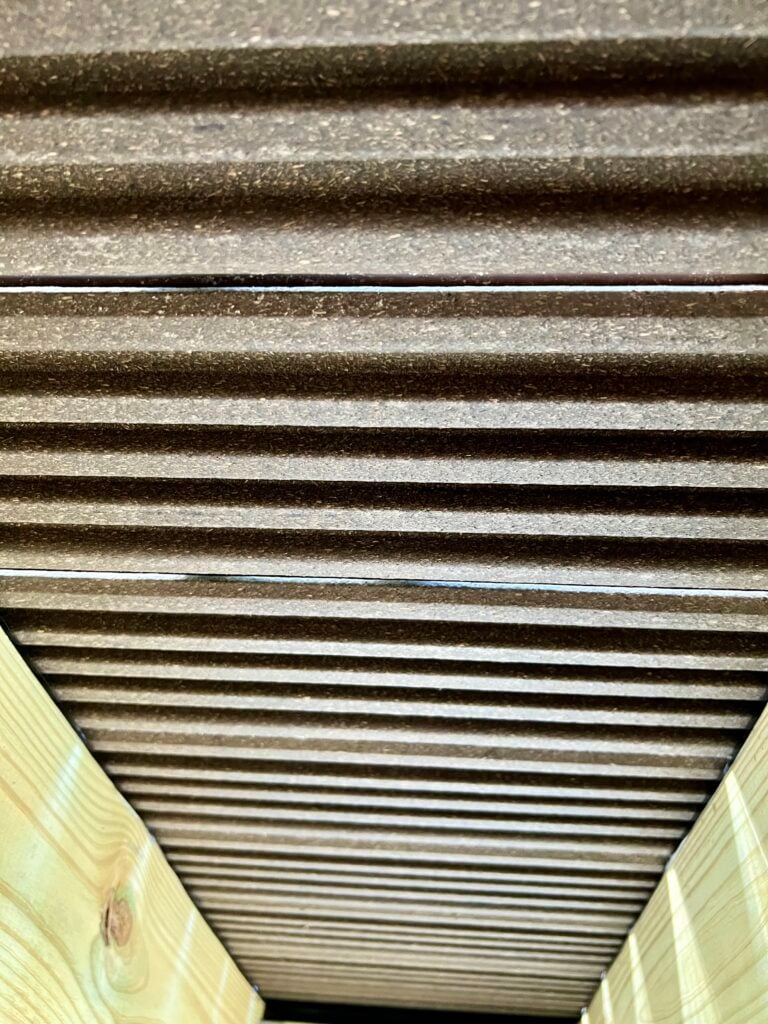
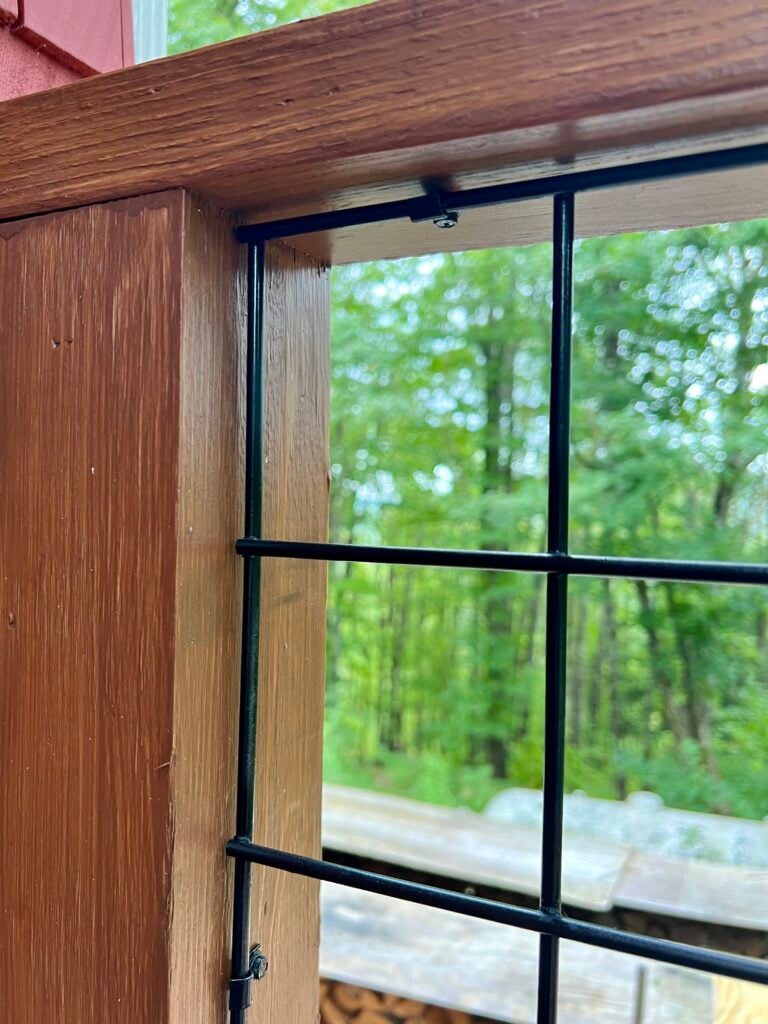
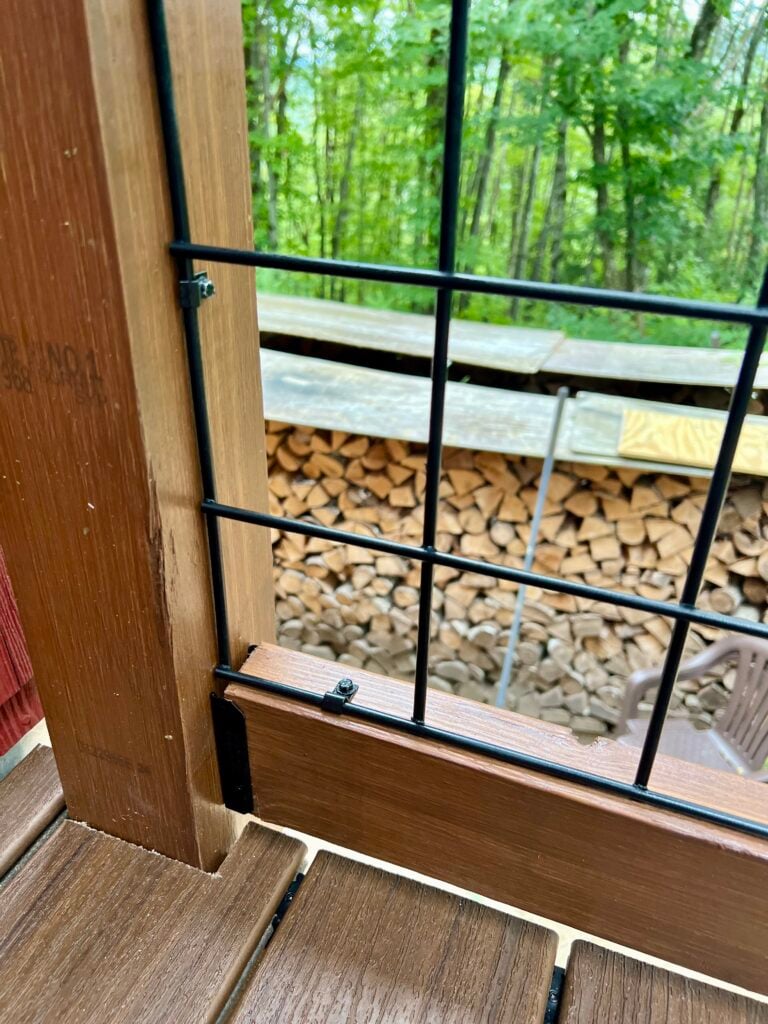
- Oscillating Tool Kit– we used this to plain the ribbed bottoms of the trex boards, so we could use trex for the top of the railings.
- 16 ft. x 48 in. Feedlot Panel for Sheep/Goats– we paid about $100 for the panels. It’s interesting how at Tractor Supply those panels we bought are the most expensive. They probably raised the price because they know people use those panels for projects like this.
- Joist Hangers 2×6
- 6″x 6″ Post Base
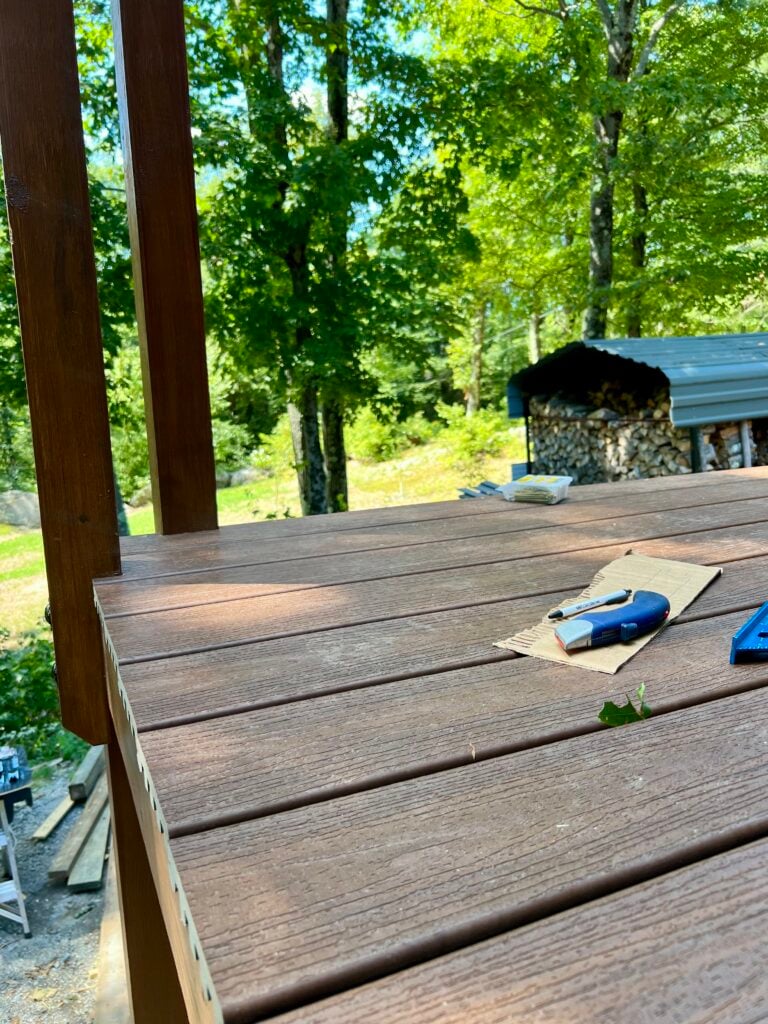
Final Thoughts on Our DIY Trex Deck Build
This deck has quickly become one of our favorite parts of the house. It blends into the woods, feels solid underfoot, and requires almost no upkeep — exactly what we hoped for.
If you’re considering a DIY Trex deck with hog wire railing, I hope this post gives you confidence and inspiration to tackle the project yourself.
If you have questions or are planning your own deck build, feel free to leave a comment — I’m always happy to share what we learned along the way.