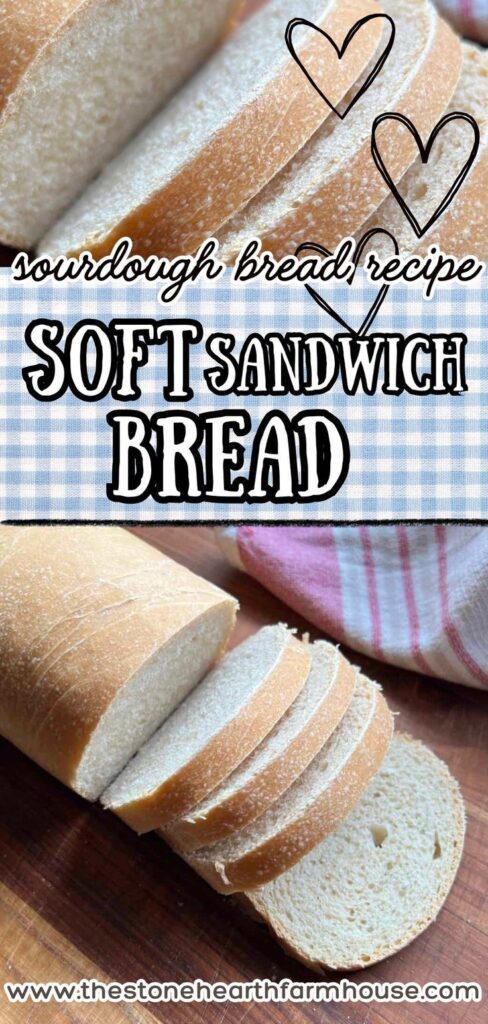
Simple Sourdough Bread Recipe with All Purpose Flour
If you’ve been searching for a sourdough bread recipe all purpose flour, you’re in the right place. This is a simple sourdough bread recipe that delivers a soft, flavorful loaf using ingredients you likely already have in your pantry—no need for fancy high-protein bread flour or hard-to-find specialty ingredients.

This recipe is perfect for beginners and seasoned sourdough bakers alike. It’s designed to be approachable, forgiving, and produce a beautiful loaf with a golden crust, chewy texture, and a soft, airy crumb—all using regular flour from the grocery store.
Whether you’re just getting started with sourdough baking or looking for an easy sourdough bread recipe that fits into your routine, this one is a great recipe to keep on repeat.
Scroll down for the recipe card, followed by detailed step-by-step instructions (with photos).
This post may contain affiliate links. As an Amazon Associate I earn from qualifying purchases.
Sourdough Bread with All Purpose Flour
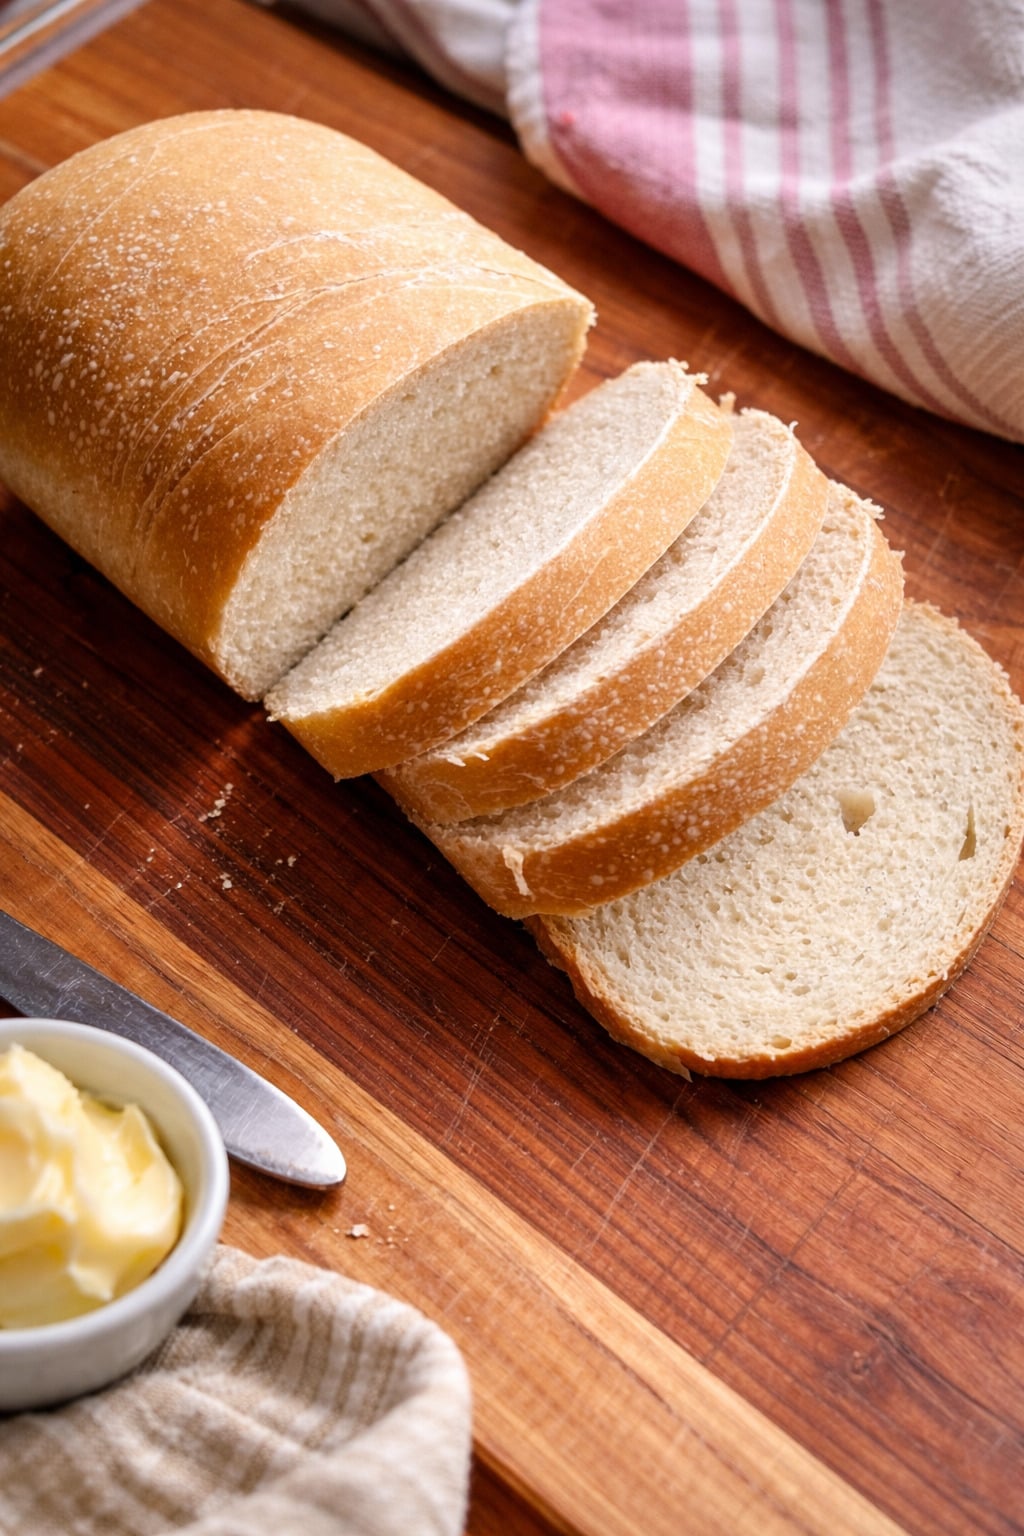
Sourdough Bread with all purpose flour
Ingredients
- 4 cups 500g all purpose flour
- 4 tbsp 60g butter
- 1 tbsp honey or 12 g sugar
- 2 tsp 9g sea salt
- 1 cup + 2 tbsp 270 g water, warm
- 1/4 cup 50g active sourdough starter
Instructions
- In a large bowl, mix flour, butter, sugar, and salt until crumbly.
- Add starter and warm water. Mix until a sticky dough forms.
- Cover with plastic wrap and let rest for 30 minutes.
- Knead until smooth and elastic.
- Cover and let rise overnight (about 12 hours) at room temperature.
- Shape into a log and rest for 5 minutes.
- Place into a greased loaf pan.
- Let rise again until slightly above the rim.
- Bake at 375°F for 45–50 minutes until golden crust forms.
Video

Notes
- For best results, use an active sourdough starter
- Adjust rise times based on ambient temperature
- Optional: cold proof overnight for deeper flavor
Why Use All Purpose Flour for Sourdough Bread?
Many traditional recipes call for white bread flour due to its higher protein content, which helps create a stronger gluten network. But here’s the good news—you can absolutely make a great loaf with all purpose flour.
This purpose flour sourdough recipe works beautifully because:
- It produces a softer crumb and tender interior
- It’s more affordable and accessible
- It still creates a delicious loaf with a mild tangy flavor
- It’s perfect for everyday baking with minimal effort
If you’ve ever felt intimidated by artisan loaves, this is the best way to simplify the process without sacrificing quality.
Understanding the Fermentation Process
The magic of sourdough comes from the natural fermentation process. Instead of commercial yeast, this recipe uses a classic fresh sourdough starter, full of wild yeast and beneficial bacteria.
During bulk fermentation, the dough slowly rises as it develops:
- Flavor (that signature sourdough taste)
- Structure (through gluten development)
- Digestibility
Letting your dough sit at room temperature overnight allows the flavors to deepen and results in a more complex flavor.
Ingredients You’ll Need
This basic sourdough bread recipe uses simple, wholesome ingredients.
- 4 cups (500g) all purpose flour
- 4 tbsp (60g) butter
- 1 tbsp honey or 12 g sugar
- 2 tsp (9g) sea salt
- 1 cup + 2 tbsp (270 g water), warm
- 1/4 cup (50g) active sourdough starter (fed and bubbly)
Tools (Helpful but Optional)
You don’t need anything fancy, but these tools can help you get the best results:
- Large bowl or mixing bowl
- Loaf pan
- Bench knife or bowl scraper
- Proofing basket (optional for shaping)
- Razor blade or sharp knife (for scoring, optional)
- Plastic wrap or plastic bag
How to Make Sourdough Bread with All Purpose Flour
Step 1: Mix the Dough
In a large mixing bowl, combine the flour, butter, sugar, and salt. Mix until the butter resembles breadcrumbs.
Add your active starter and warm water (270 g water), then mix until all the flour is absorbed. At this stage, you’ll have a sticky dough—this is completely normal.
Cover the bowl with plastic wrap and allow a dough rest for 30 minutes. This rest helps with hydration and begins early gluten development.
Step 2: Knead the Dough
After the dough rest, begin kneading on a clean work surface.
If the dough sticks too much, lightly dust with flour. The goal is a soft, elastic dough—not overly dry. You’re working toward a stronger dough that holds its shape.
Tip: You can use a stand mixer with a dough hook, but kneading by hand gives you a better feel for the dough’s texture and hydration level.
Step 3: Bulk Fermentation (First Rise)
Place the dough back into your mixing bowl, cover with plastic wrap, and let it rise overnight for about 12 hours at room temperature.
This stage—bulk fermentation—is where the magic happens. The dough should double in size by the next morning, depending on your ambient temperature.
A warmer environment will speed up the dough rise, while a cooler one may take longer.
Step 4: Shape the Dough
Turn your dough out onto a lightly floured work surface.
- Gently flatten into a rectangle to release air bubbles
- Roll into a log shape
- Tuck in the ends
Let the dough rest for 5 minutes (another short dough rest).
With floured hands, pull the dough toward you to tighten the top of the dough and create a smooth, taut surface.
Step 5: Second Rise
Place the shaped dough into a buttered loaf pan.
Cover with plastic wrap or a plastic bag, and let it rise at room temperature until it slightly domes above the rim.
This can take a couple of hours depending on your dough temperature and kitchen conditions.
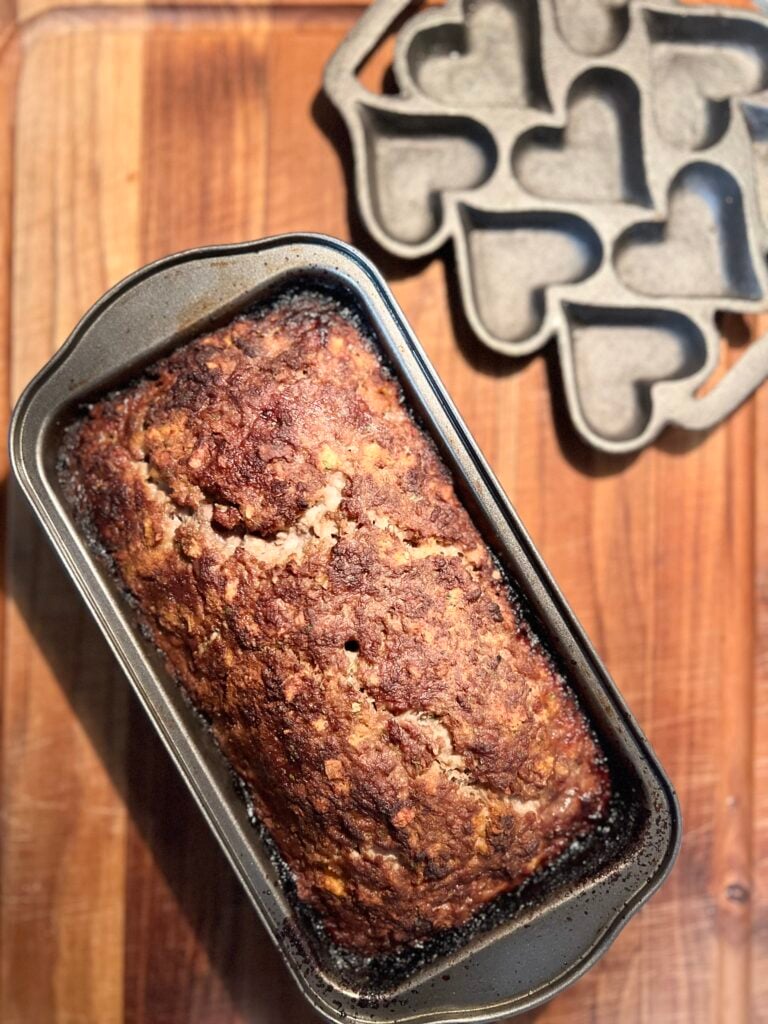
Step 6: Bake
Preheat your oven to 375°F.
Bake for 45–50 minutes until the crust is a deep golden crust.
For an even better crust, you can:
- Brush with butter before baking
- Place a small dish of water in the oven for steam
The result? A loaf with a soft interior and a lightly crisp crust.
Tips for the Best Results
- Keep your dough in a warm spot for consistent bulk fermentation
- Use rice flour when dusting to prevent sticking (especially if using a proofing basket)
- Adjust for different amounts of water depending on humidity
- Try adding a bit of vital wheat gluten if you want a stronger structure
Optional Variations
This simple sourdough recipe is incredibly flexible:
- Swap part of the flour with whole wheat flour for added nutrition
- Experiment with different flours and whole grains
- Add herbs, garlic, or cheese for flavor
Cold Proof Option
Want even more flavor?
After shaping, place the dough in the fridge for a cold proof overnight. This slows fermentation and enhances the sour flavor.
Scoring the Dough (Optional)
Before baking, you can score the top of the dough with a razor blade or sharp knife. This helps control the oven spring and gives your loaf a rustic look.
How to Store Your Bread
- Store at room temperature in an airtight container for up to 3 days
- Slice and freeze for longer storage
Troubleshooting Common Issues
Dense bread?
Your bulk fermentation may not have been long enough.
Too sour?
Shorten the fermentation time or reduce the overnight proof.
Flat loaf?
Your starter may not have been active enough.
This sourdough bread recipe all purpose flour proves that you don’t need specialty ingredients to make incredible bread at home.
It’s a perfect way to enjoy homemade sourdough bread with simple ingredients, flexible timing, and reliable results. Whether you’re baking your first loaf or your hundredth, this recipe is one you’ll come back to again and again.
If you loved this recipe, be sure to check out more of my favorite bread recipes and sourdough recipes, and don’t forget to save this as your go-to printable recipe!