
Dried Orange Garland: A Slow Afternoon Christmas Project
If you ask me, nothing says the holidays are on their way like the smell of oranges warming in the oven. This Dried Orange Slice and Pinecone Garland for the Farmhouse Mantel is one of my favorite ways to bring that feeling to our farmhouse mantel. And it costs next to nothing.

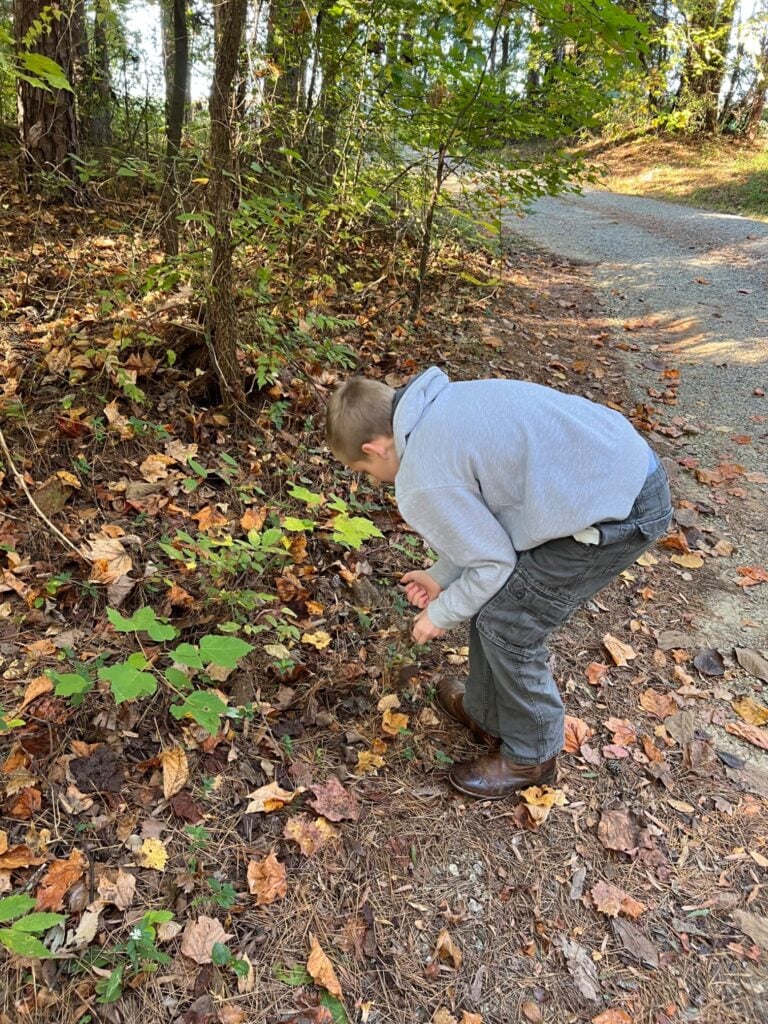
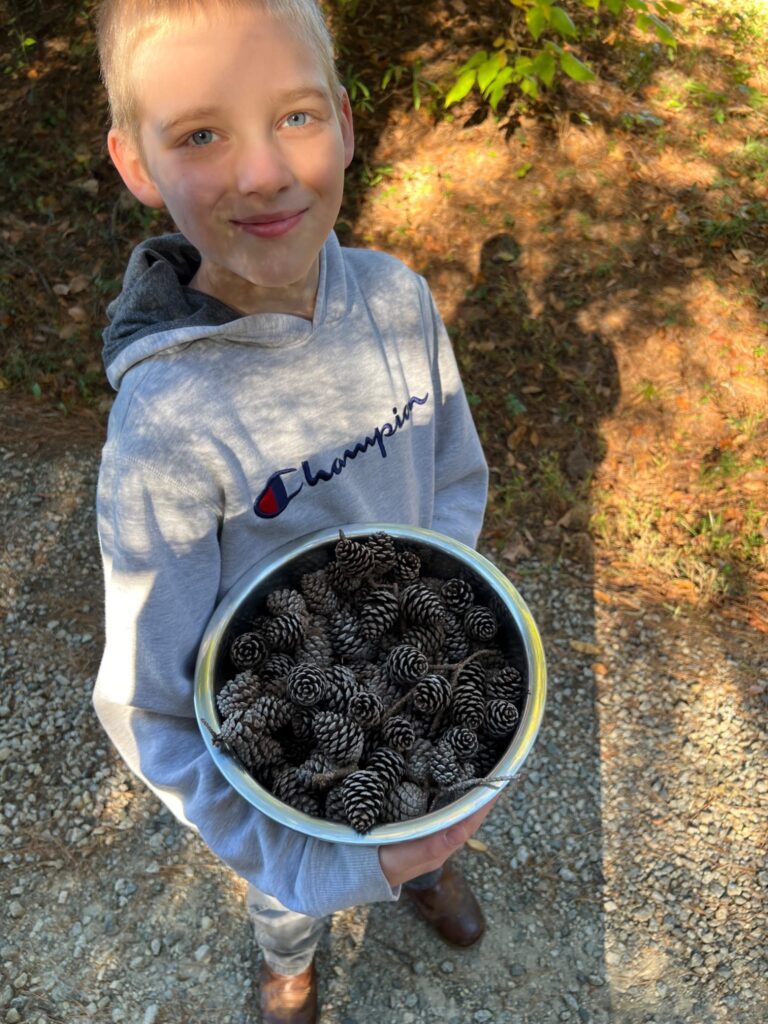
The pinecones come straight from my yard. My son is always happy to fill a bucket for me. The oranges are a few from the grocery bag, and then you just need a spool of jute twine. That’s it. You end up with simple, natural decor that looks like it came out of an old-fashioned country farmhouse at Christmas time.
I’ll walk you through drying orange slices in the oven or dehydrator, getting your pinecones clean and bug-free, and stringing it all together. You don’t need any special skills. Just a slow afternoon at home. 🙂
🎄❄️🍪
What You’ll Need for a 6-Foot Garland
- 4–5 navel oranges (blood oranges, lemons & grapefruit add nice color variety)
- 15–20 small-to-medium pinecones
- Jute twine, about 8 feet
- A sharp serrated knife and cutting board
- Clean kitchen towels or paper towels
- 2 baking sheets, parchment paper, and a wire cooling rack if you have one (baking method)
- dehydrator if using that method
- A large-eye tapestry needle or a wooden skewer
- Thin floral wire or small screw eyes for the pinecones
- Optional: cinnamon sticks, bay leaves, or a few sprigs of dried greenery
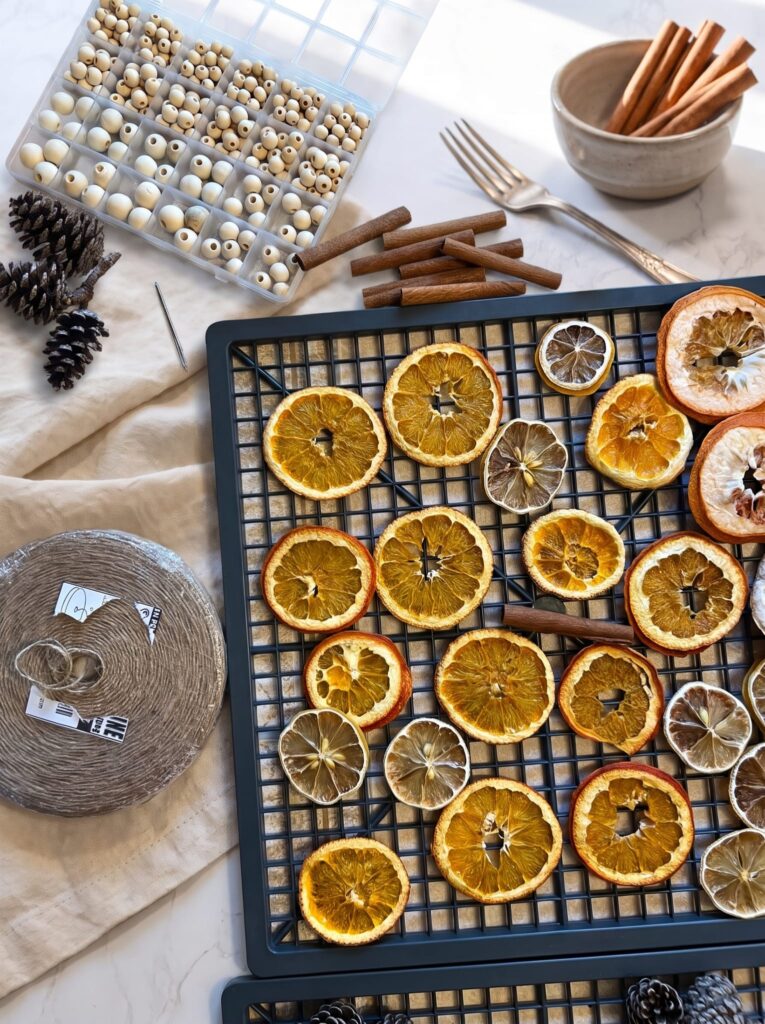
How to Dry Orange Slices in the Oven
Low and slow is the secret. A hot oven browns the slices before they dry out. A low one keeps them bright and glowing.
- Heat the oven to 200°F. If your oven runs hot, go down to 175°F.
- Slice the oranges about ¼ inch thick. Even slices dry evenly. Skip the end pieces or save them for simmer pots.
- Blot them well. Press each slice between towels to soak up as much juice as you can. This shortens the drying time a lot.
- Arrange in a single layer. Lay the slices on a wire rack set over a baking sheet, or right on parchment. They shouldn’t touch.
- Bake for 3–4 hours, flipping every hour. Thinner slices finish sooner, so start checking at 2½ hours.
- Check for doneness. The slices are ready when the flesh looks dry and slightly translucent and isn’t tacky to the touch. If a few are still sticky, give them more time.
- Let them finish air-drying. Leave them on the rack overnight so they harden up fully before you string them.
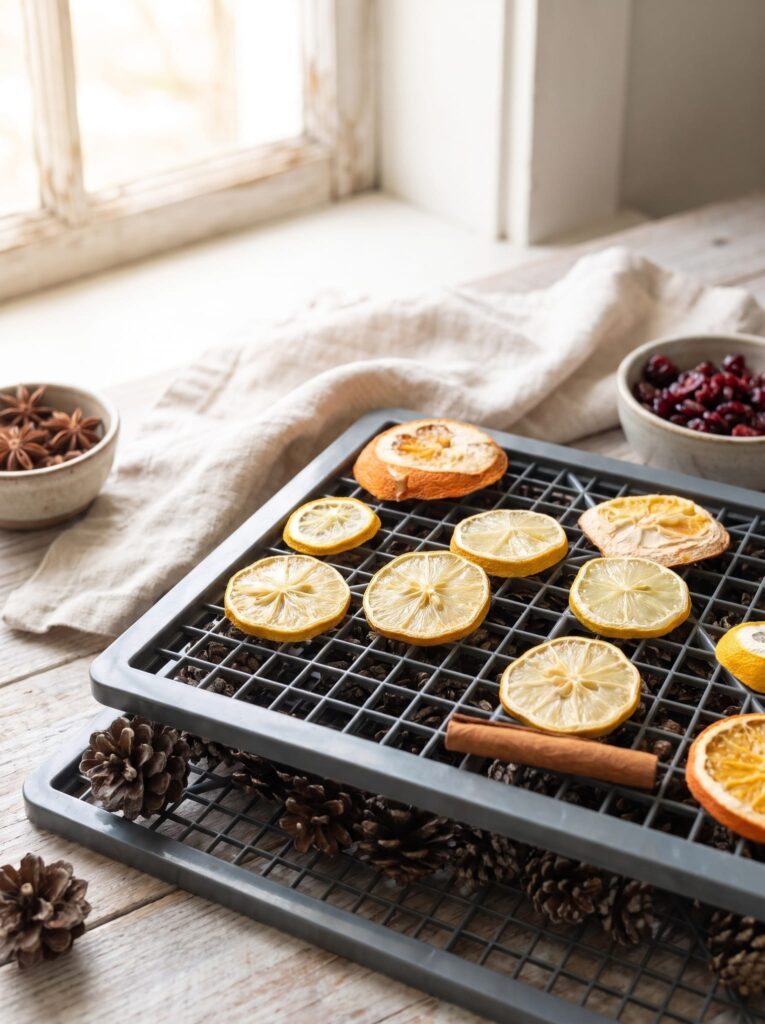
Tip: If any slices start to brown at the edges, pull those out early and keep the rest going.
🎄❄️🍪
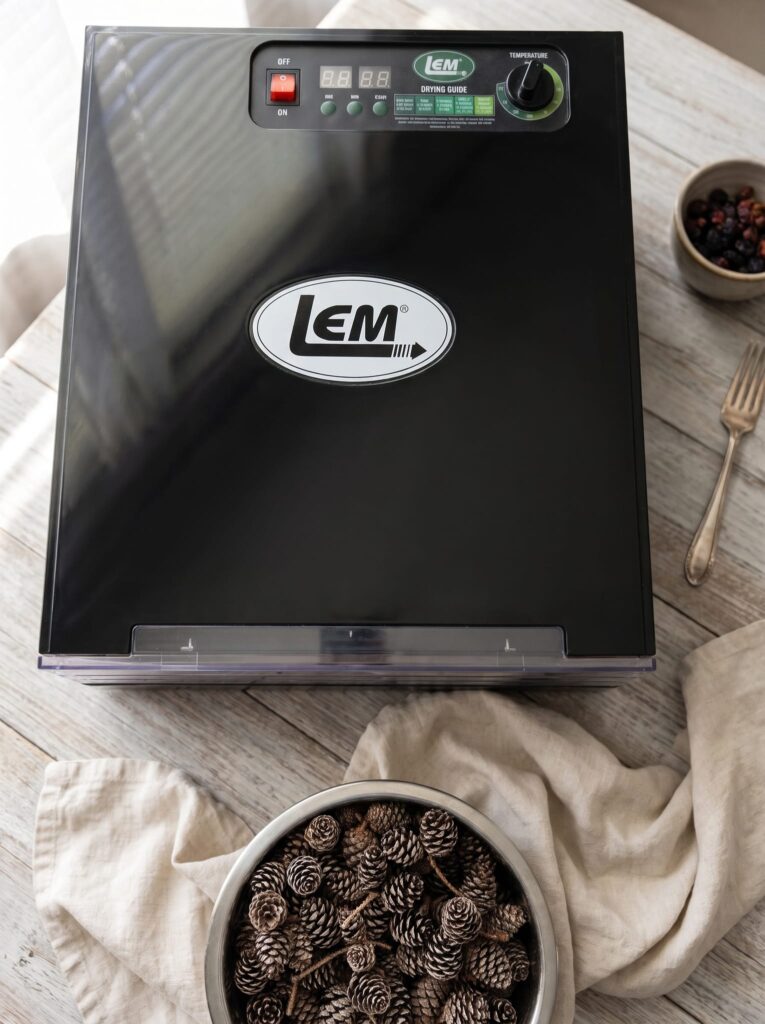
How to dry orange slices in a dehydrator (my favorite way)
A dehydrator takes longer than the oven, but it’s nearly hands-off and gives the brightest color with almost no browning. It also frees up your oven for holiday baking.
- Slice and blot. Cut the oranges about ¼ inch thick and press them between towels to soak up the juice, just like for the oven method.
- Load the trays. Lay the slices in a single layer so they aren’t overlapping. A little space between them helps air move.
- Set the temperature to 135°F. This is the fruit setting on most dehydrators.
- Dry for 8–12 hours. Rotate the trays every few hours if your dehydrator dries unevenly. Thinner slices may finish in 6 hours.
- Check for doneness. The slices are ready when they’re dry, firm, and no longer tacky in the center. Any that still bend or feel sticky need more time.
- Cool completely. Let them sit out for a few hours before stringing so any remaining moisture can escape.
Tip: Start them in the evening and let them run overnight. You’ll wake up to a house that smells like oranges and slices ready to string. I also add in a cinnamon stick for the smell combo!
Gathering and Cleaning the Pinecones
Pinecones from the yard are free, but they often come with dirt, sap, and the occasional little critter. A quick clean and bake takes care of all three.
Pick dry, open cones. Choose cones that are fully opened and fairly uniform in size.
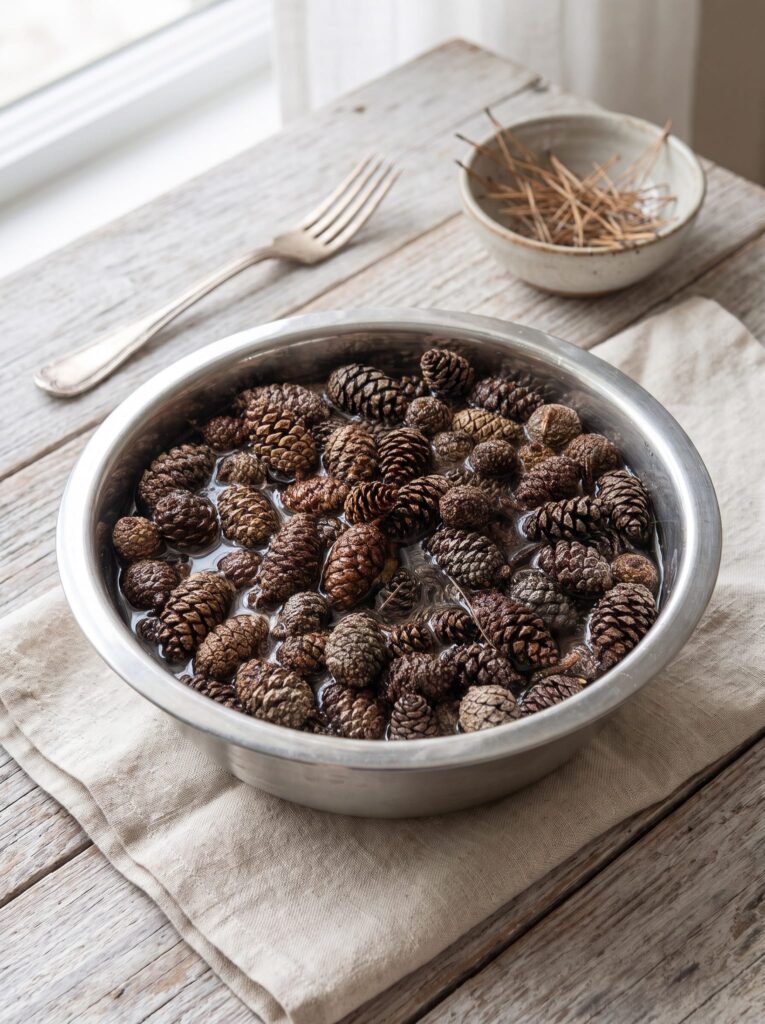
Rinse. Very dirty cones can soak for 20 minutes in warm water with a splash of white vinegar. That will kill any bugs. They’ll close up while they’re wet. That’s completely normal.
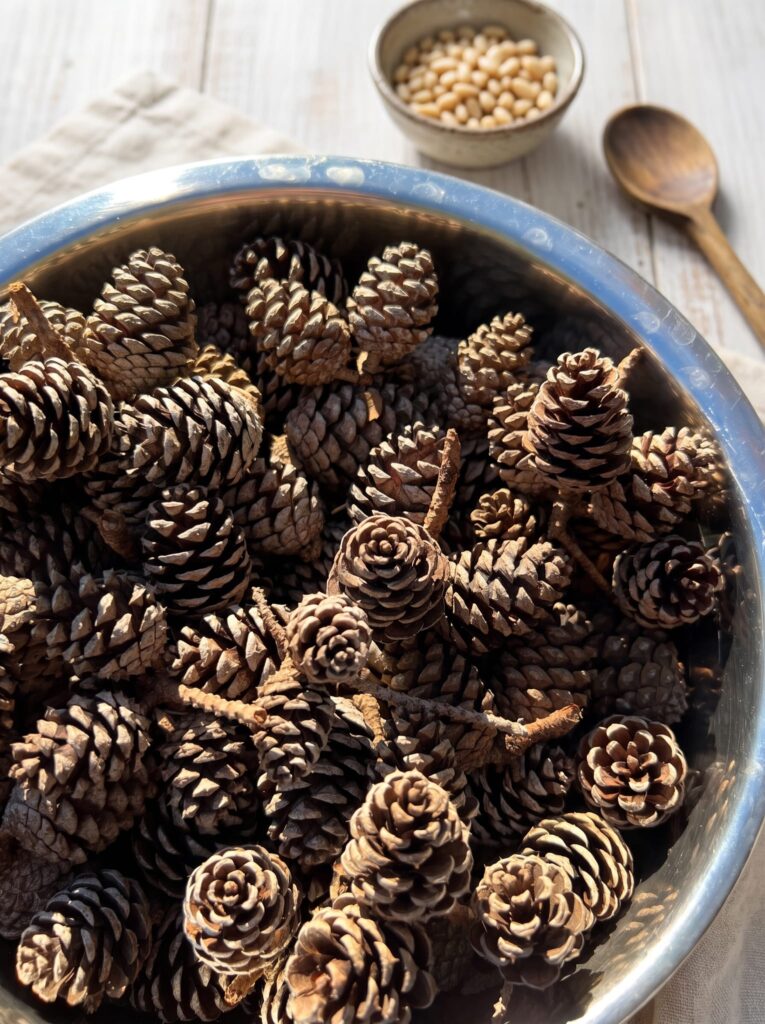
Bake or dehydrate to dry. Spread them on a foil-lined baking sheet and bake at 200°F for 30–60 minutes, until they’re fully open and dry. Or follow the directions for dehydrating above.
Stay close by while they bake. Pinecone sap is flammable, so never leave them unattended, and keep the oven no hotter than 200°F. You can bake them right after the oranges come out.
Putting Your Dried Orange Garland Together
- Cut your twine. Cut about 8 feet of jute and tie a loop at one end for hanging. Leave the other end loose for now.
- Prep the pinecones. Wrap a 6-inch piece of floral wire around the base scales of each cone and twist it into a small loop at the bottom. Or twist a small screw eye into the base.
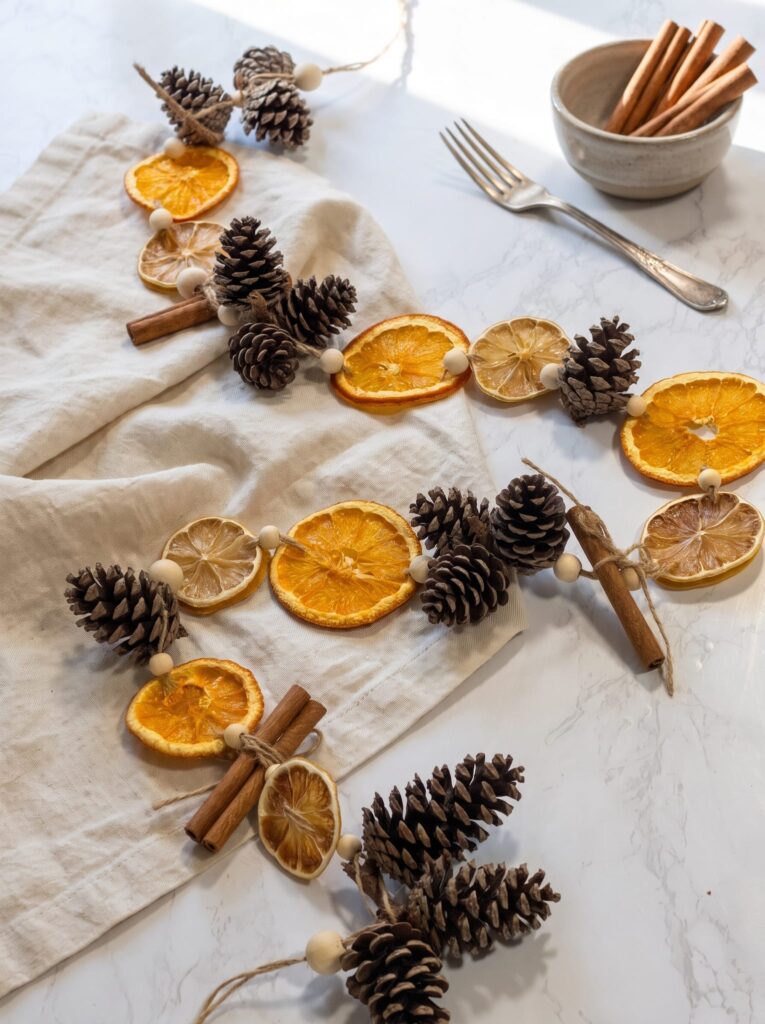
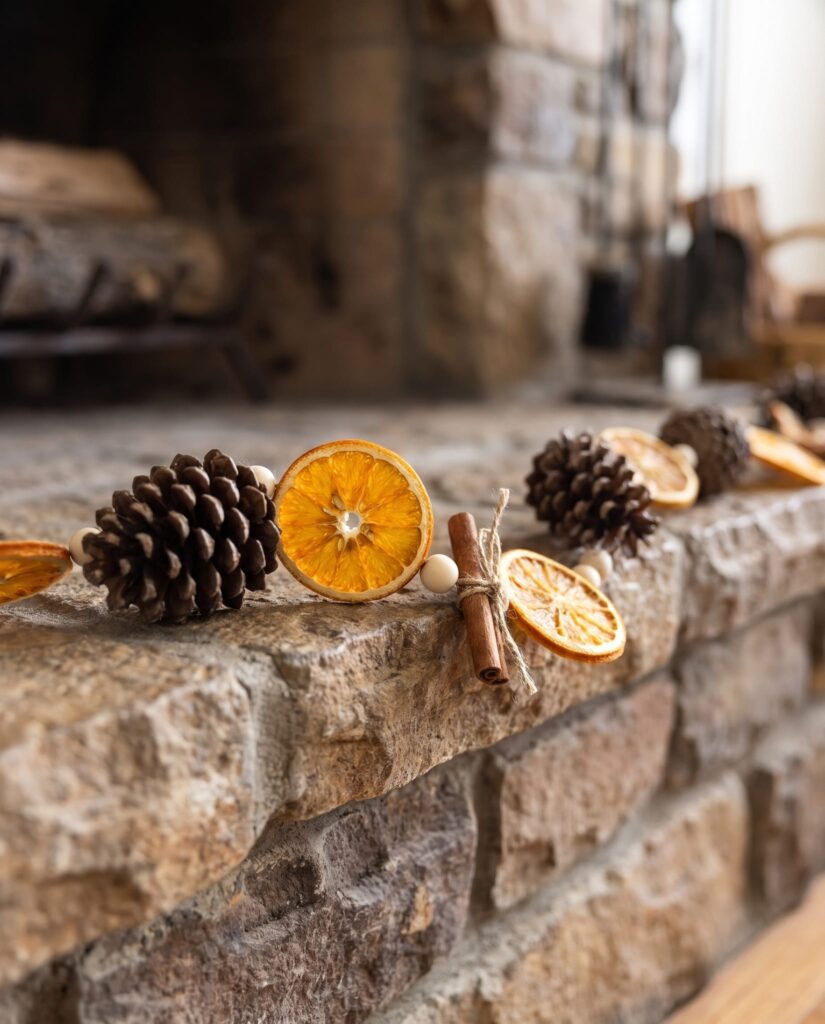
- Lay it out first. Arrange the oranges and pinecones on the table in your pattern before you string anything. I like orange, orange, pinecone, with a cinnamon stick every so often.
- String the oranges. Thread the twine through a large-eye needle and pass it through each slice about ½ inch in from the peel. Go through twice so each slice faces forward and stays put.
- Add the pinecones. Slide the twine through each wire loop or screw eye, or just tie each cone on with a simple knot. You can also wrap the twine around the top if the phone cone and add a wooden bead to hold it in place.
- Space and secure. Leave 2–3 inches between pieces and tie a small knot on each side of every item so they don’t slide together.
- Finish the end. Tie a second hanging loop and trim the extra twine.
Can the kids help? Absolutely. Little ones can gather pinecones and lay out the pattern, and older kids can string the oranges with a blunt tapestry needle. If you’ve got little hands that need something to do while the oranges dry, my Christmas coloring pages are a good way to fill the afternoon.
🎄❄️🍪
Styling It on the Farmhouse Mantel
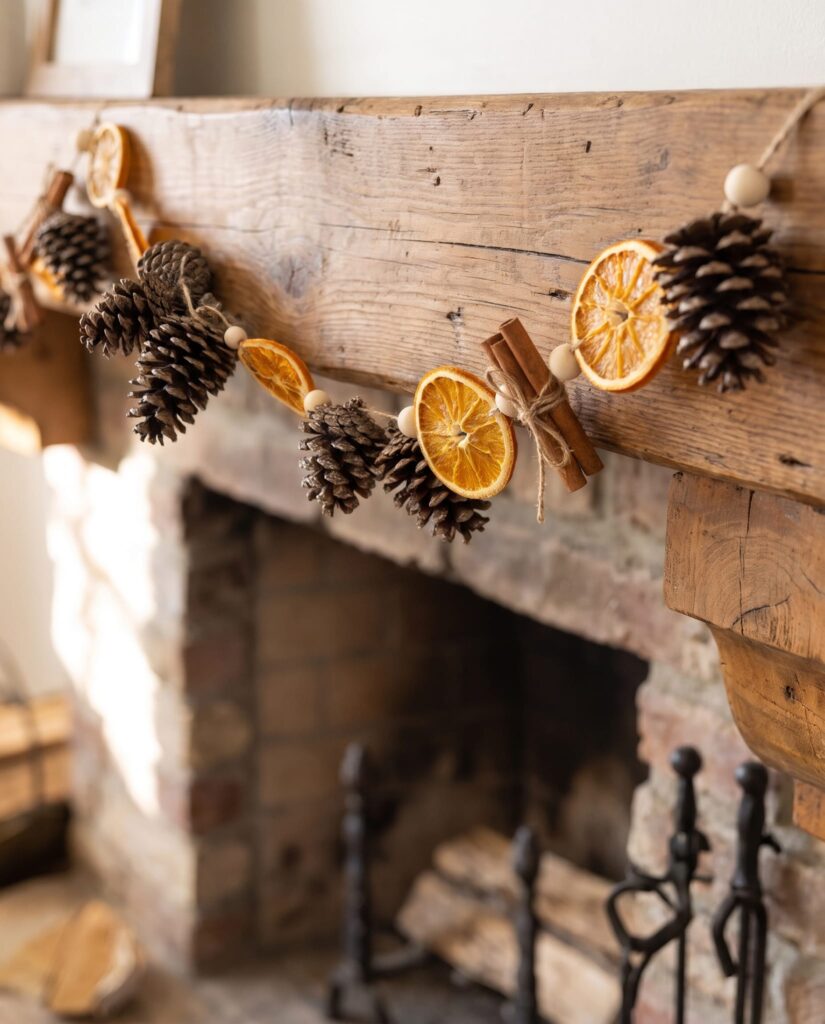
Hang the garland in soft swags with small command hooks underneath the mantel edge, or just drape it loosely across the top. A few ways to finish the look:
- Layer it over fresh or faux cedar, pine, or magnolia garland for fullness.
- Add a few white candles in glass hurricanes or a string of warm fairy lights.
- Repeat the oranges elsewhere: a few slices tied to a wreath, a bowl of extra pinecones on the coffee table, or slices tucked into a jar on the kitchen windowsill.
One safety note. If you light your fireplace, keep the garland well above the firebox and never let it hang down near the opening. Dried fruit and pinecones catch fire easily.
Why did my orange slices turn brown?
The oven was too hot, or the slices were left in too long. Try 175°F next time and check them earlier.
How long does a dried orange garland last?
Fully dried slices last for years if they’re stored well. The color fades a little each season, which many people love for a more rustic look.
How do I store it after the holidays?
Wrap the garland loosely in tissue paper and store it in an airtight container in a cool, dry spot. A silica packet or two keeps moisture out.
Simple Beauty from What We Already Have
I love that this garland comes together from the yard and the kitchen. It’s a gentle reminder that a home doesn’t need expensive things to feel warm and welcoming. “The earth is the LORD’s, and the fulness thereof” (Psalm 24:1, KJV), and sometimes the prettiest decor is waiting right outside the back door.
If you make one, I’d love to hear how it turned out and see it hanging on your mantel. Leave me a comment below. And save this post to Pinterest so you have it ready when the oranges come out this season.
Try These Next!
- Peanut Butter Blossom Cookies
- Traditional Thanksgiving Recipes
- Scripture Memory Verse Cards for Sunday School (Free Printables)
Merry Christmas from my kitchen to yours ♡